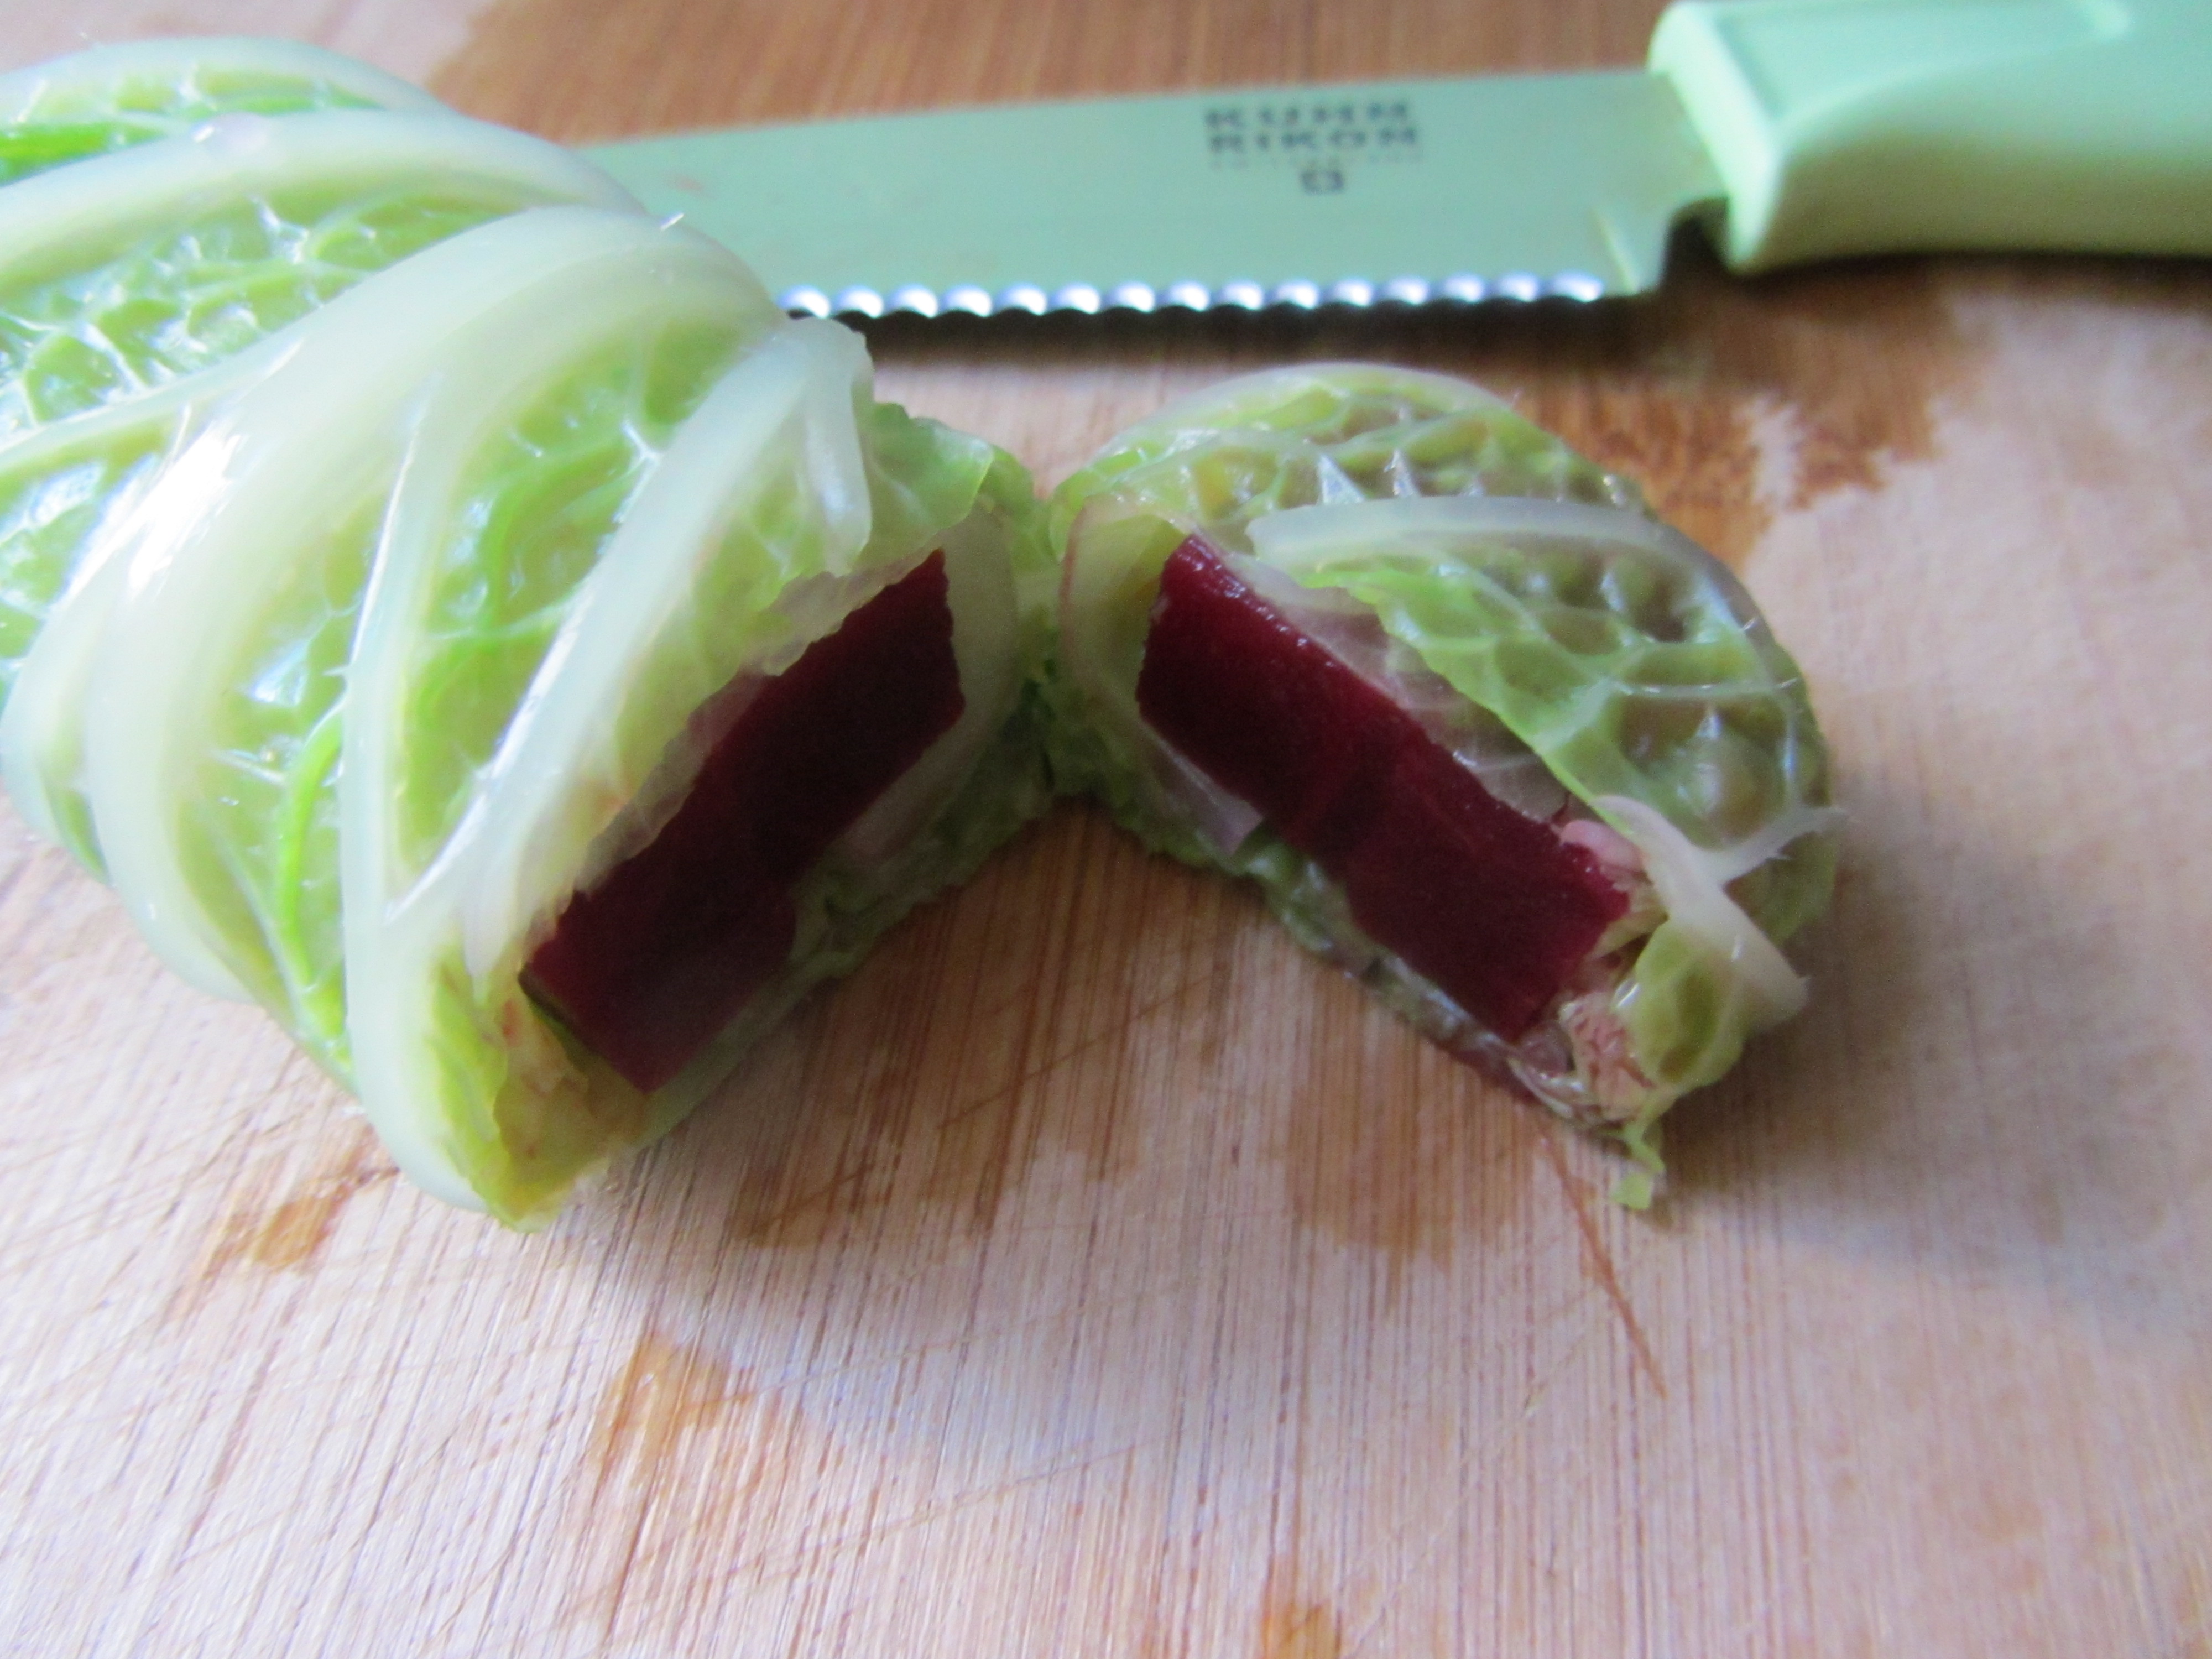
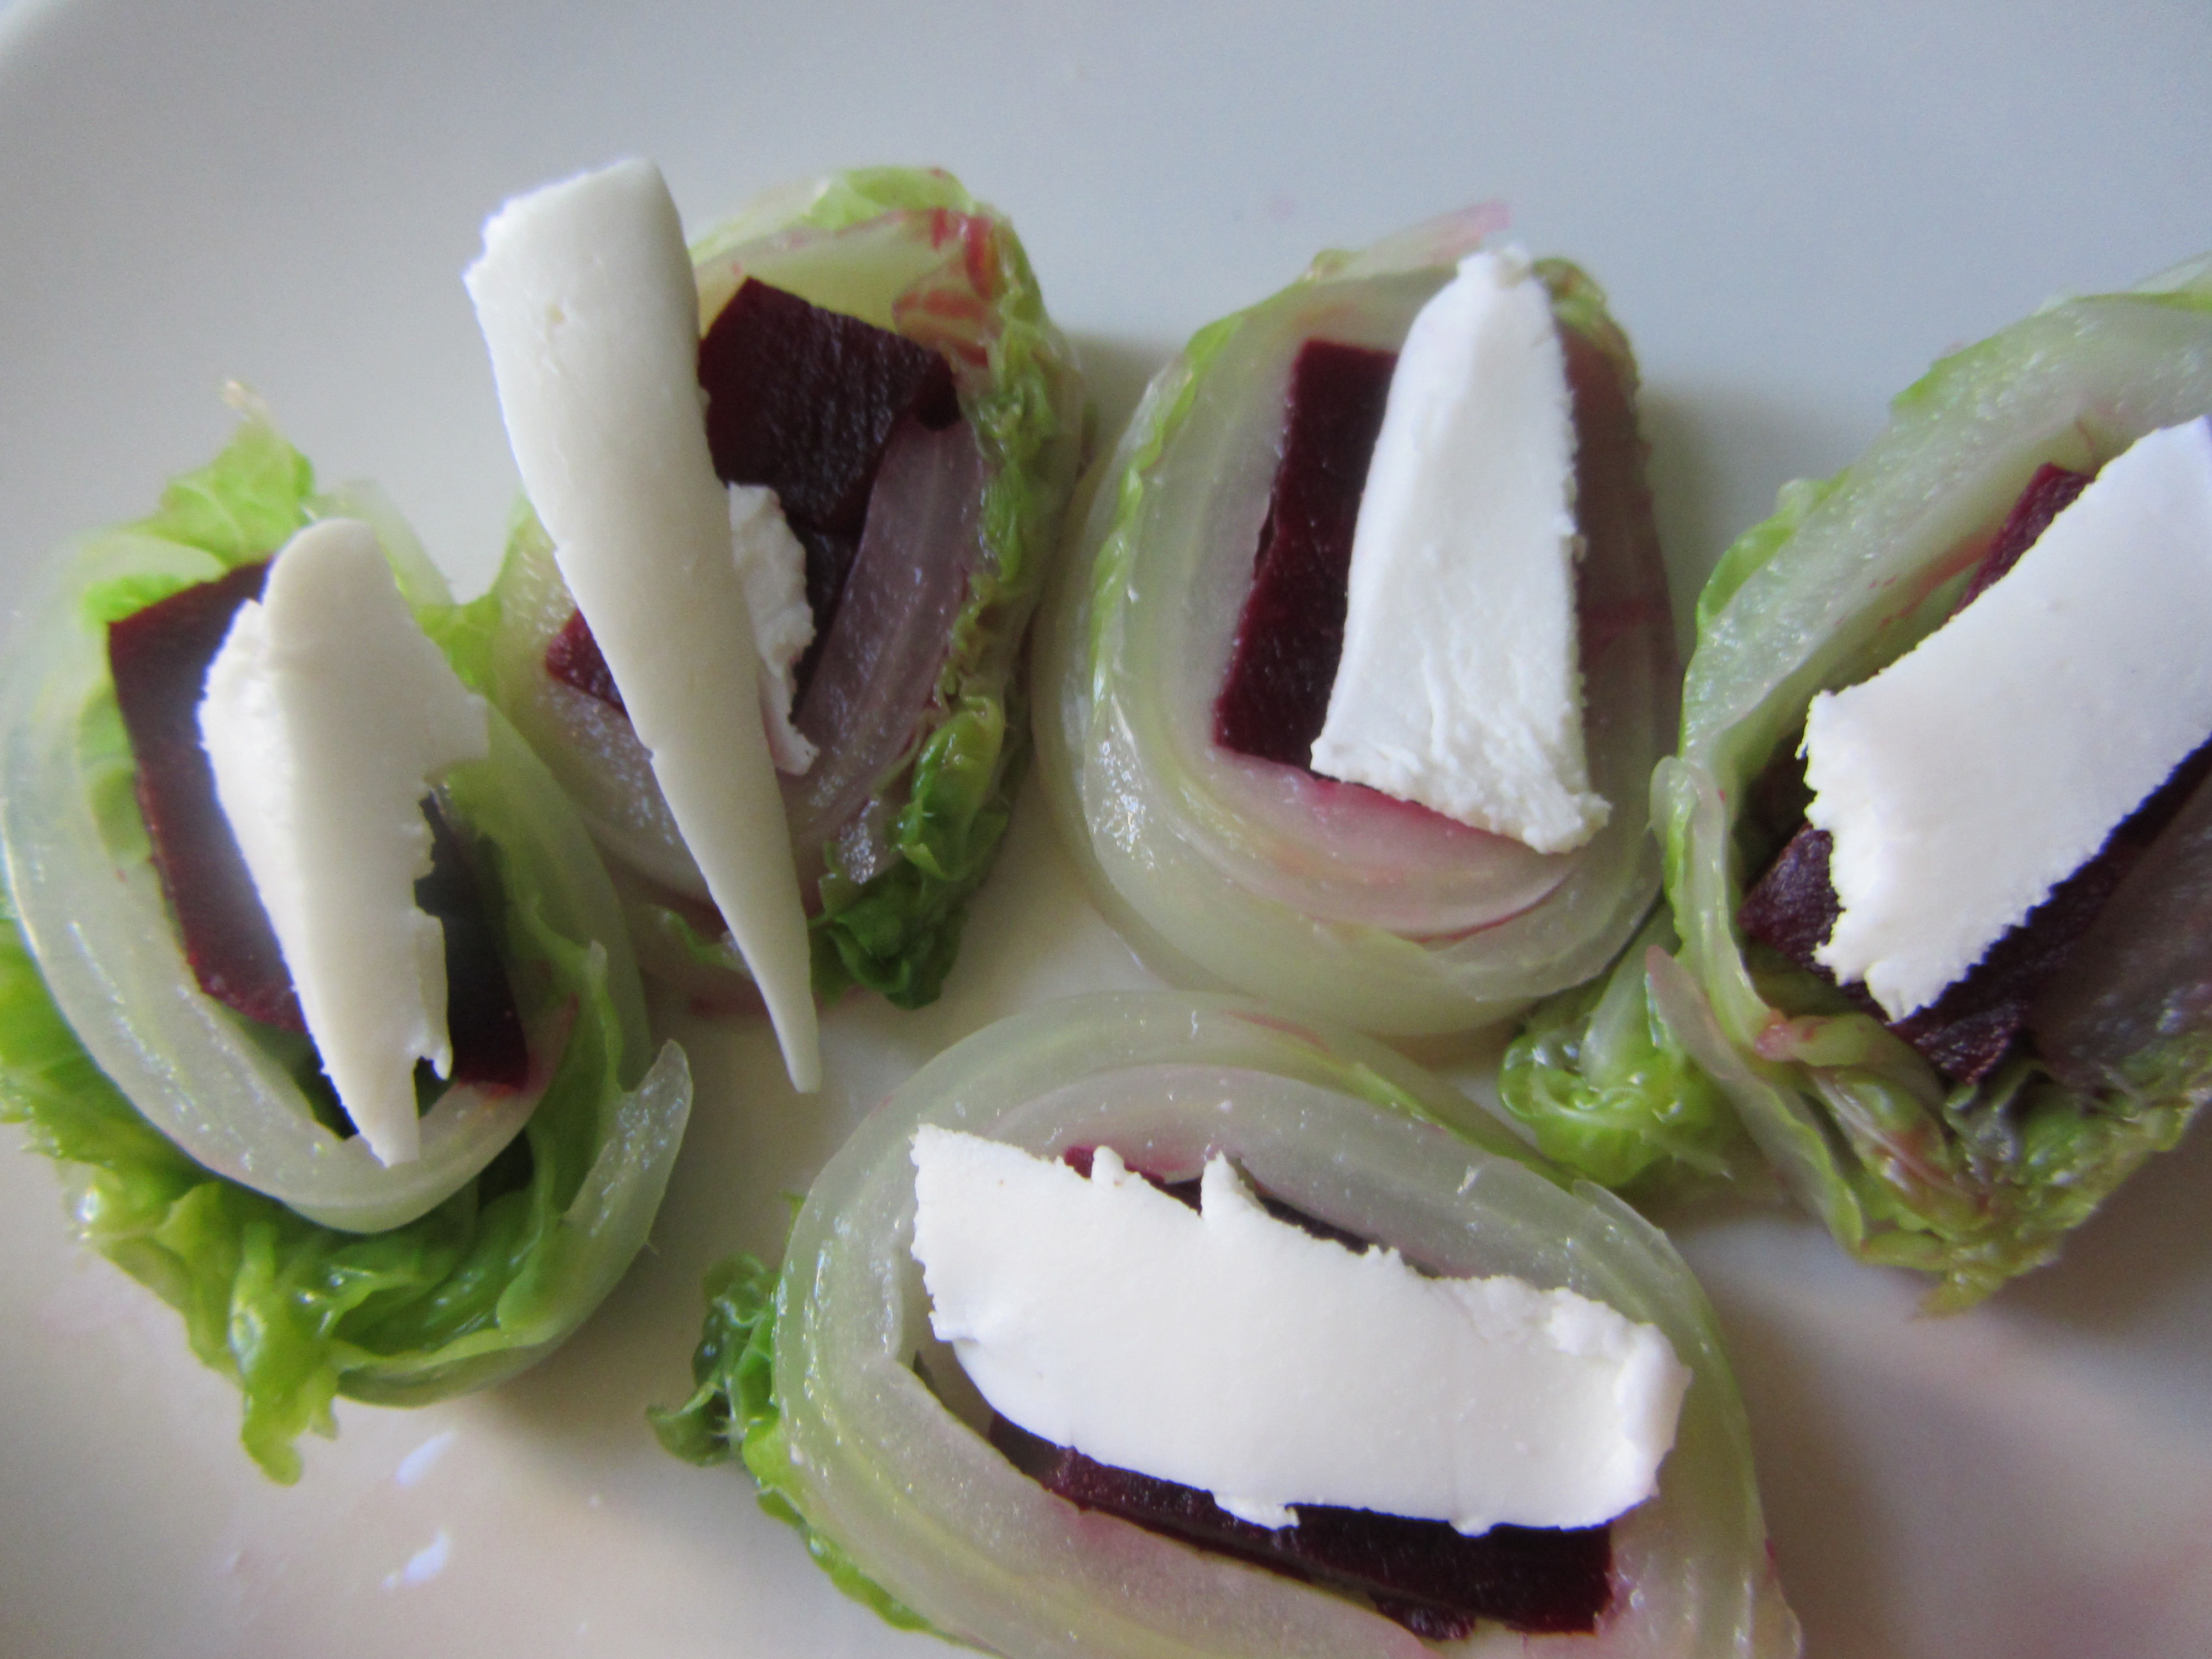
Napa cabbage is an ideal breakfast vegetable. It is one of the most delicate tasting cabbages, is rich in vitamins and minerals, and it goes well with most grains. You can roll the condiments inside or put them on the table so everyone can choose their own.
serves 4
INgredients
4 fresh large Napa cabbage leaves
1 beet
a few pinches coarse sea salt
optional condiments: peanut butter, tahini, umeboshi plum paste, soy sauce, fresh mozzarella cheese
Process
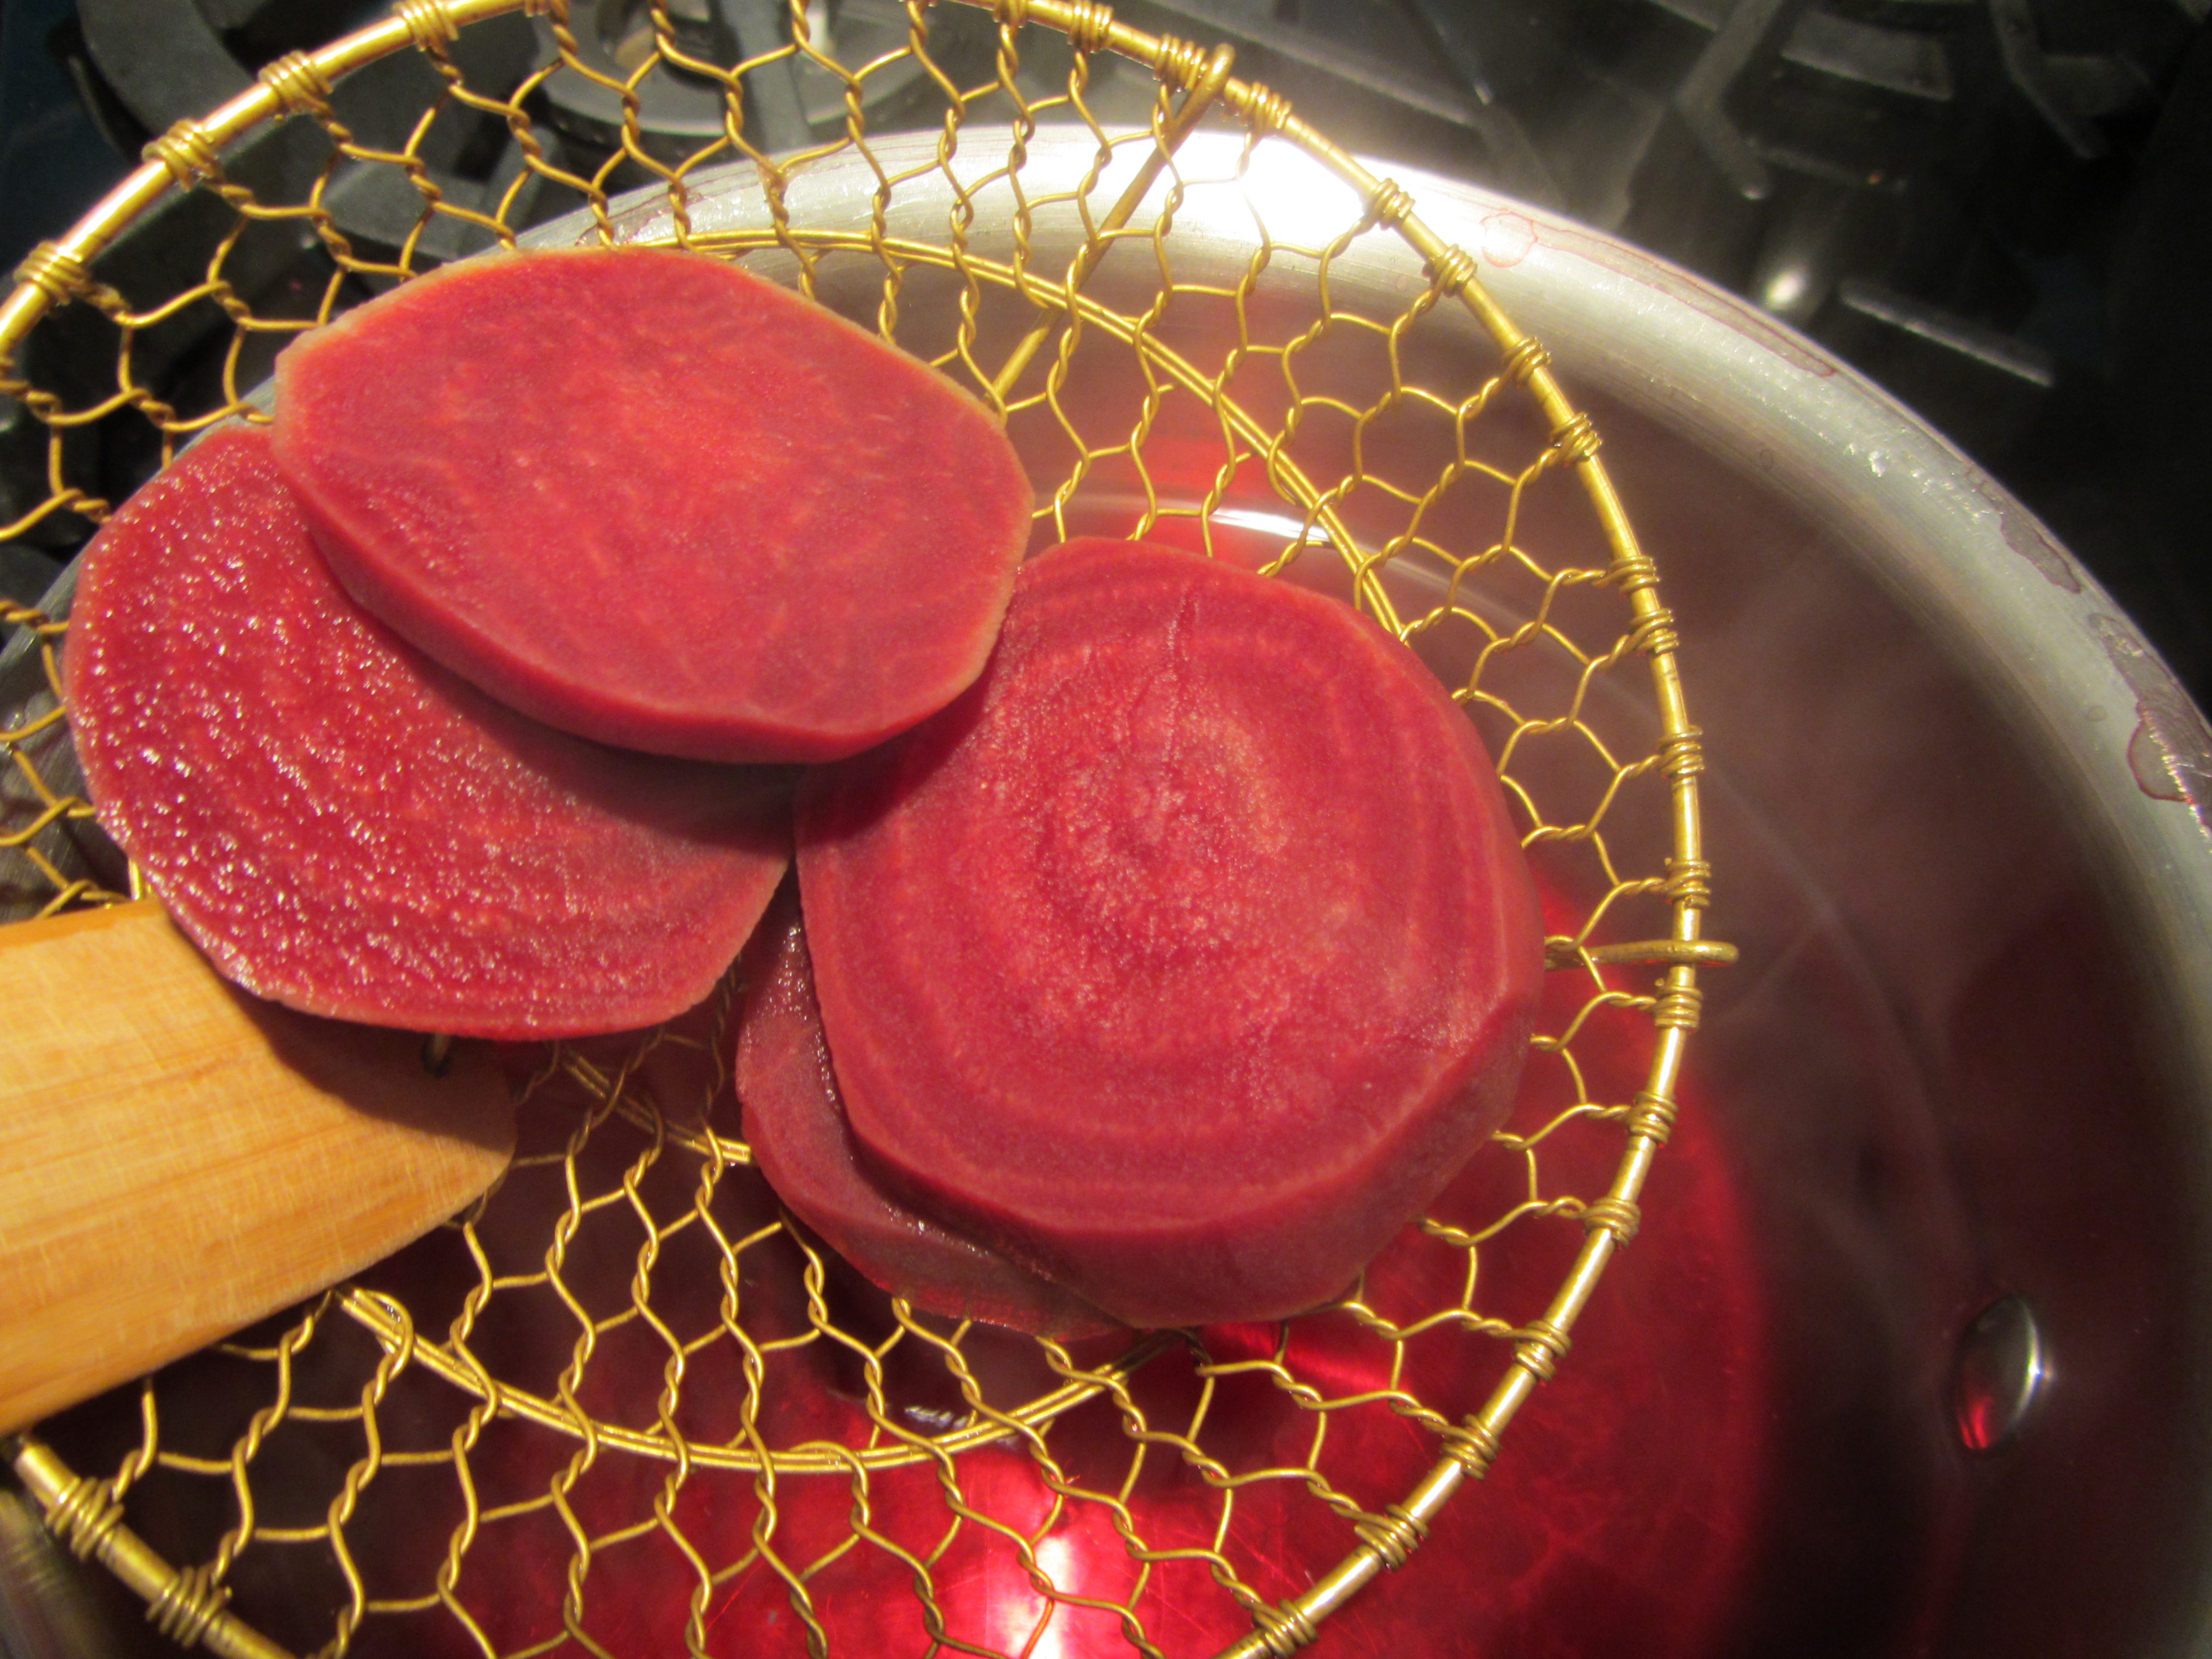
Wash the Napa cabbage leaves well, making sure to keep them intact. Peel the beet. Bring two pots of water, one medium and one large, to a roiling boil. Be sure to add a pinch of coarse sea salt to each pot of water. Slice the beet into 4-5 quarter-inch-thick discs and drop them into the medium-sized pot. Lower the flame and boil the beet for about 5-10 minutes. They are done when they are soft enough for a fork to penetrate easily. Remove with a wire mesh skimmer from pot and set aside to cool.
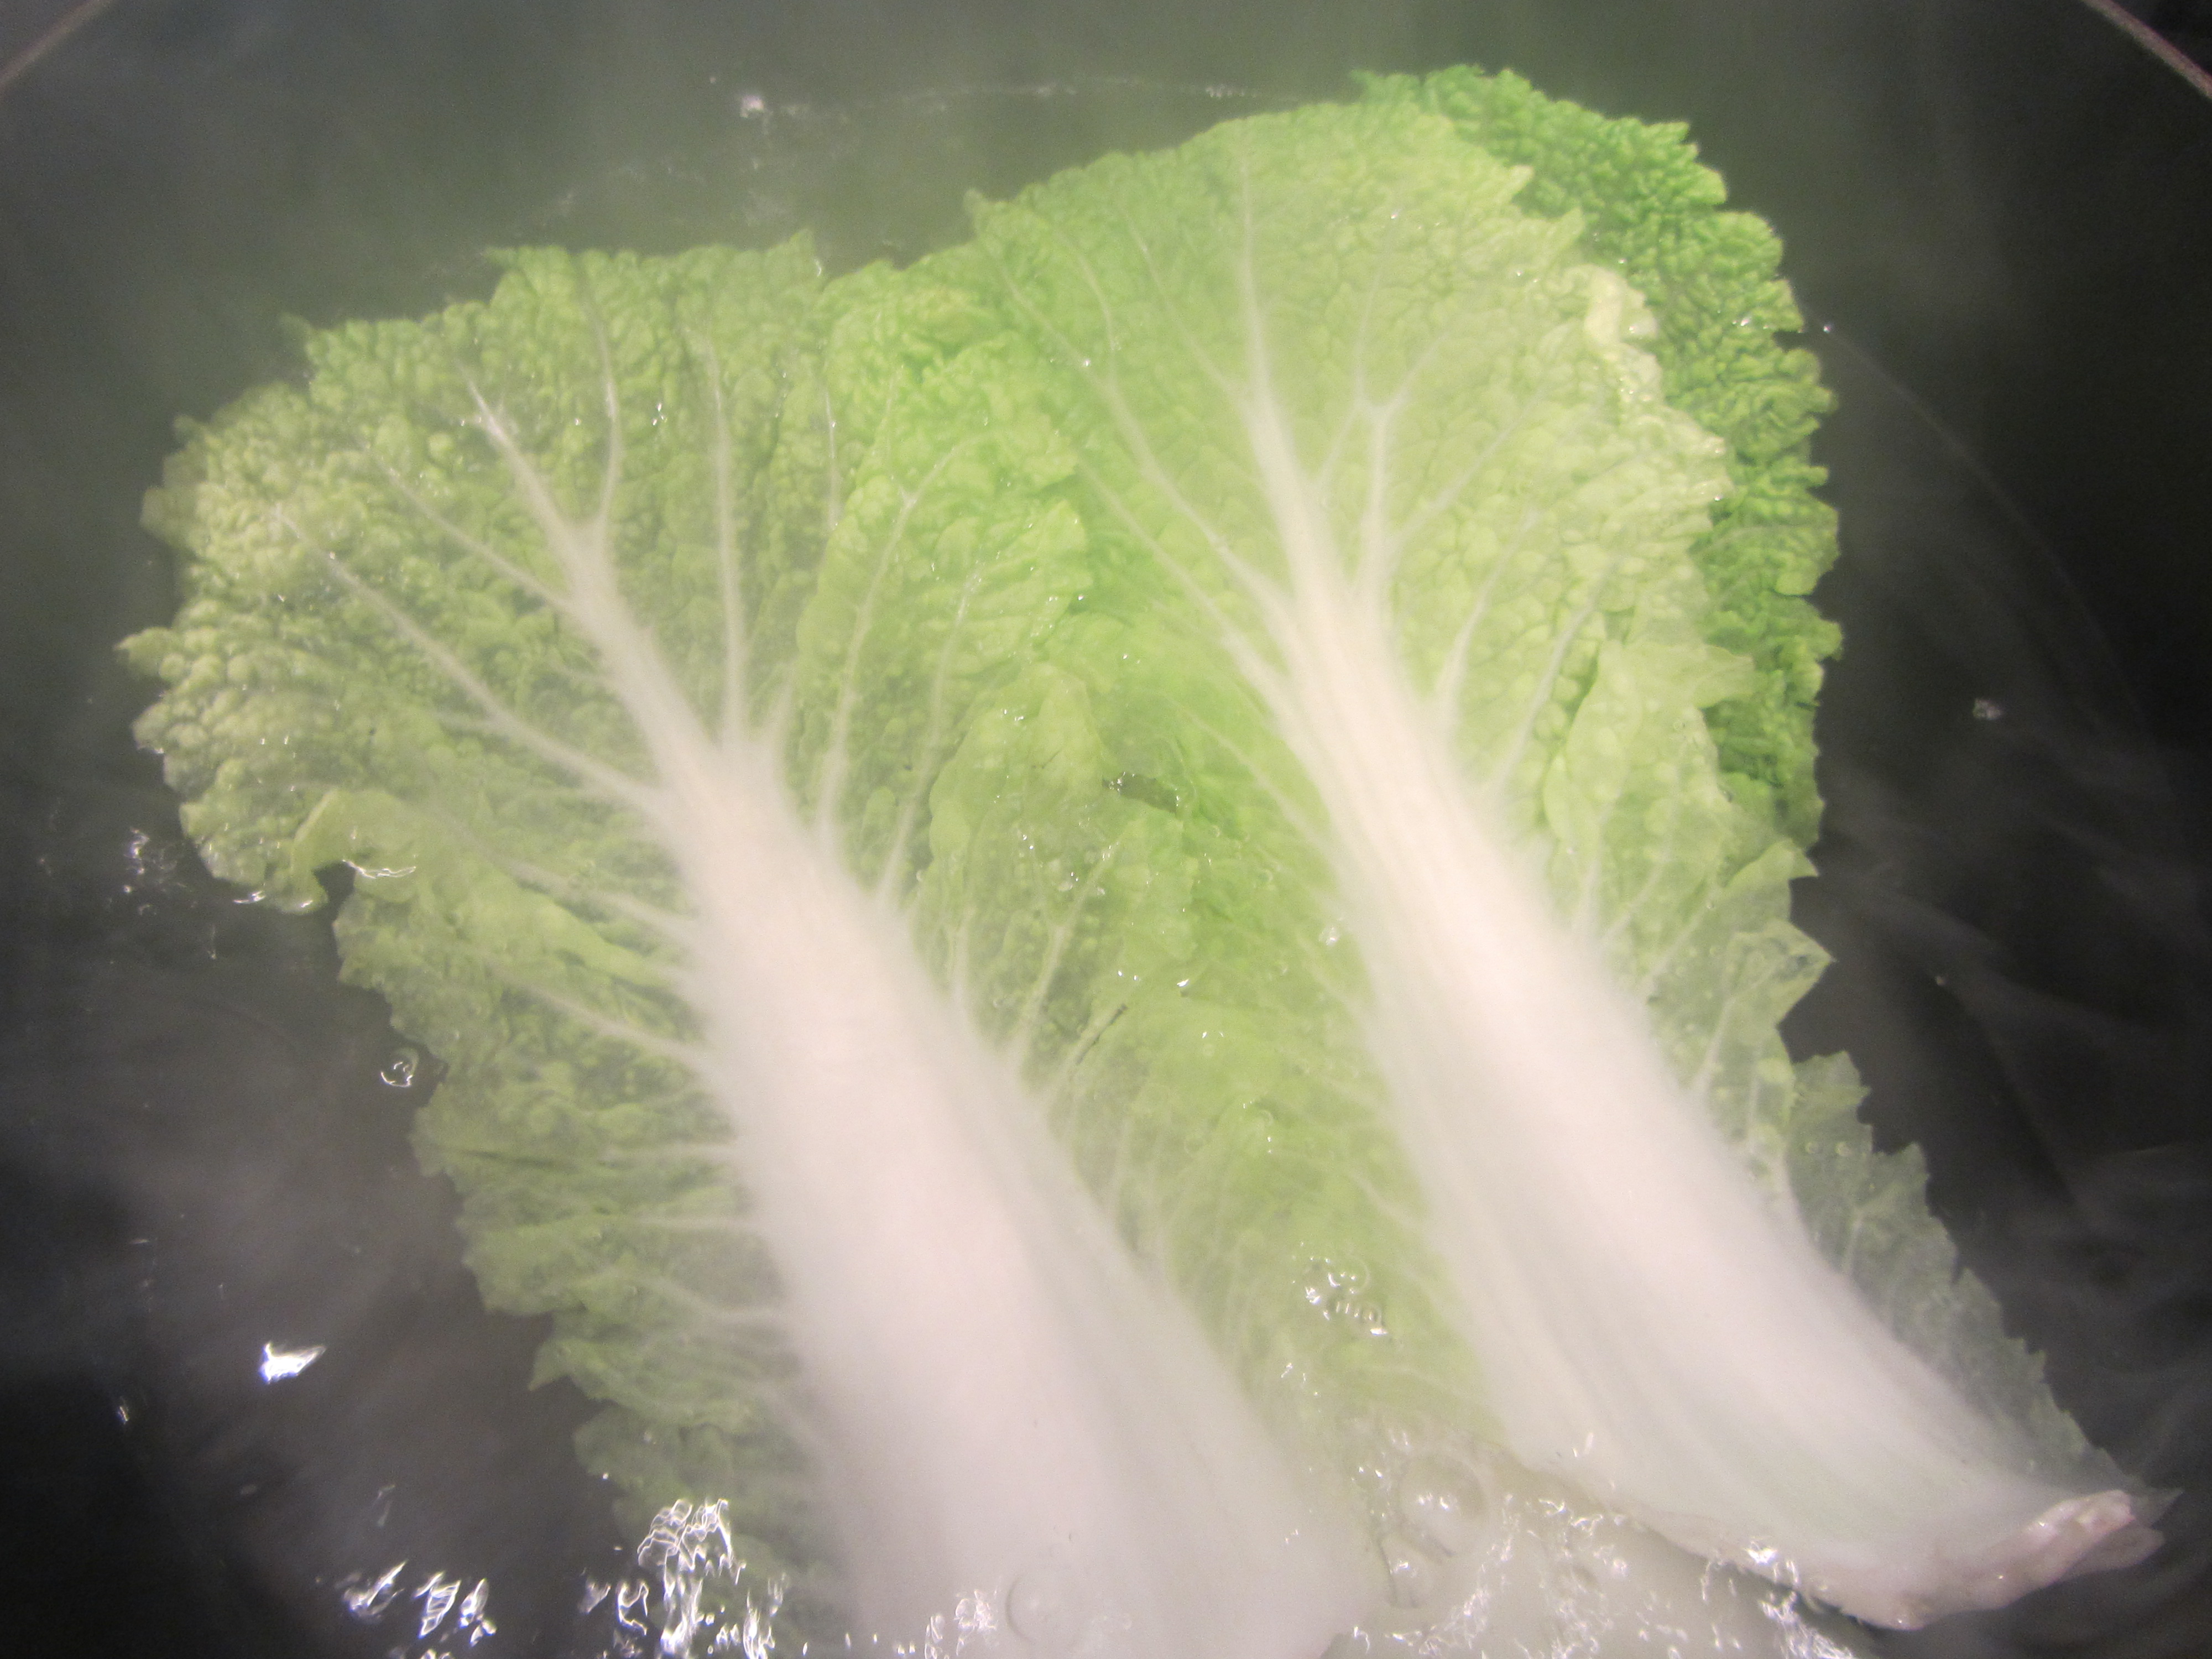
Drop the clean Napa cabbage leaves into the large pot of boiling water. They will rise to the top in about 20-30 seconds. Note that their color should be more intensely green; remove from pot using a wire mesh skimmer.
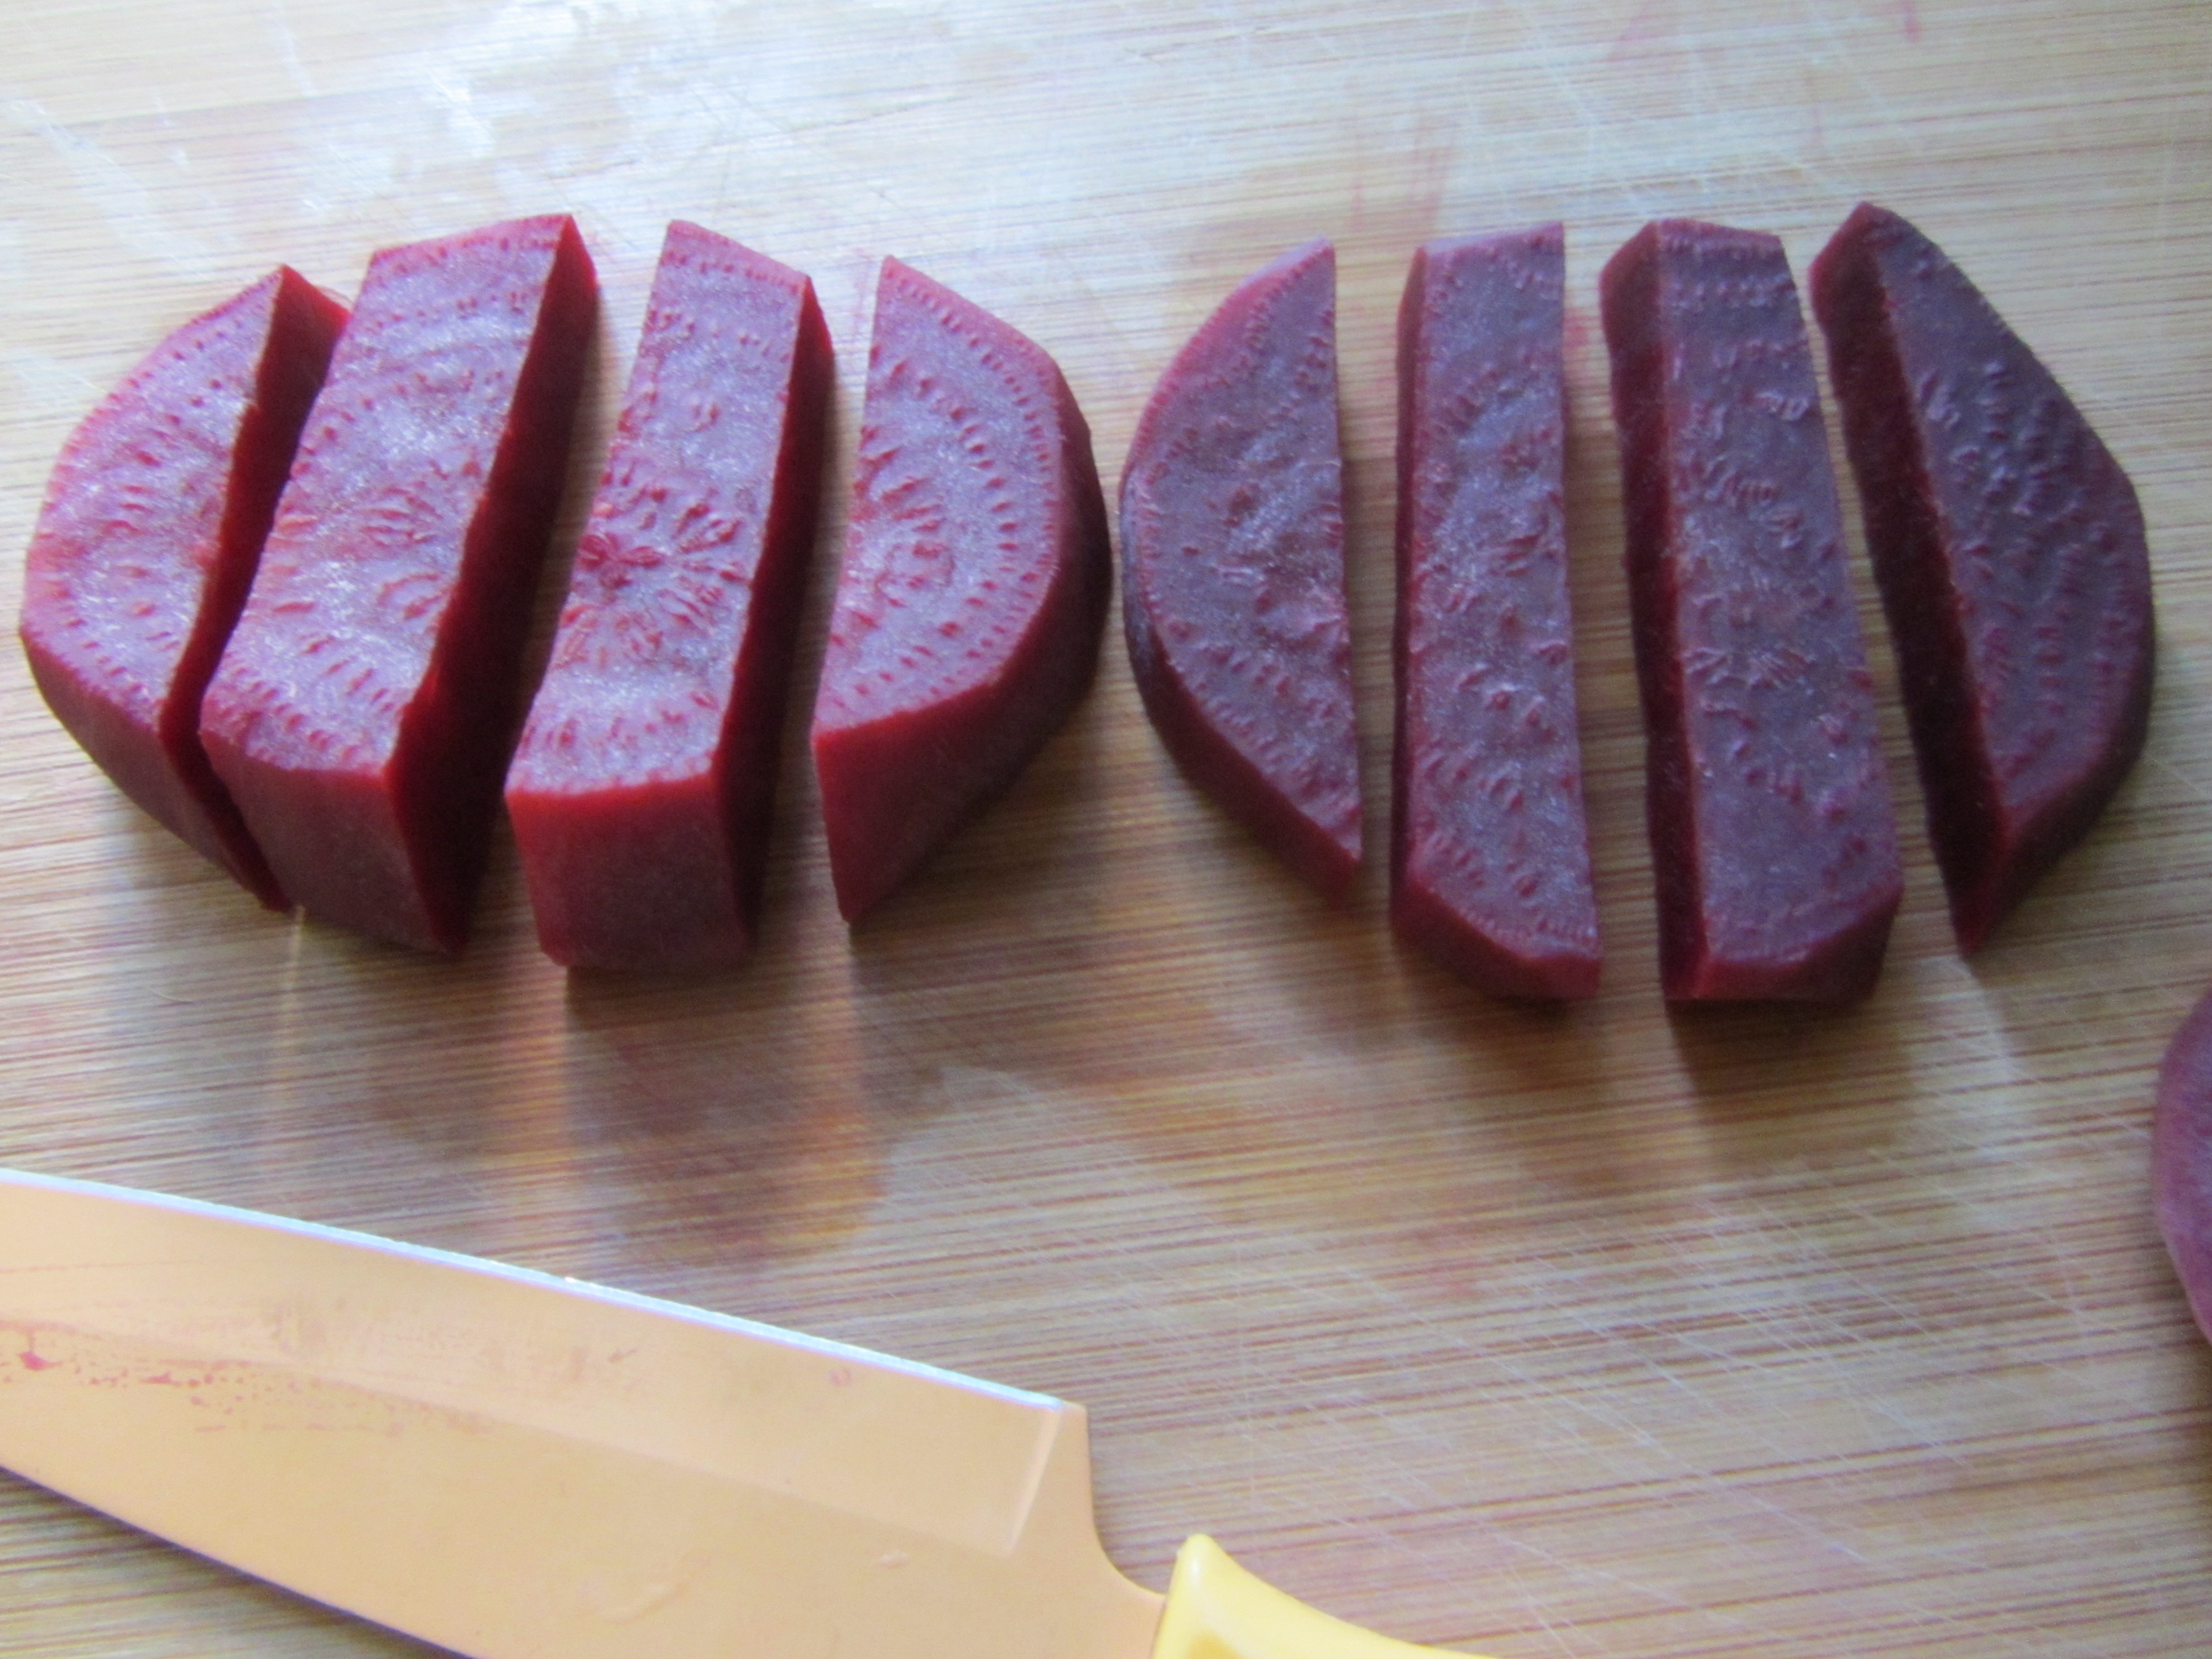
Allow the Napa cabbage leaves to cool and set aside. Slice the cooled beet discs into quarter-inch-wide sticks and set aside.
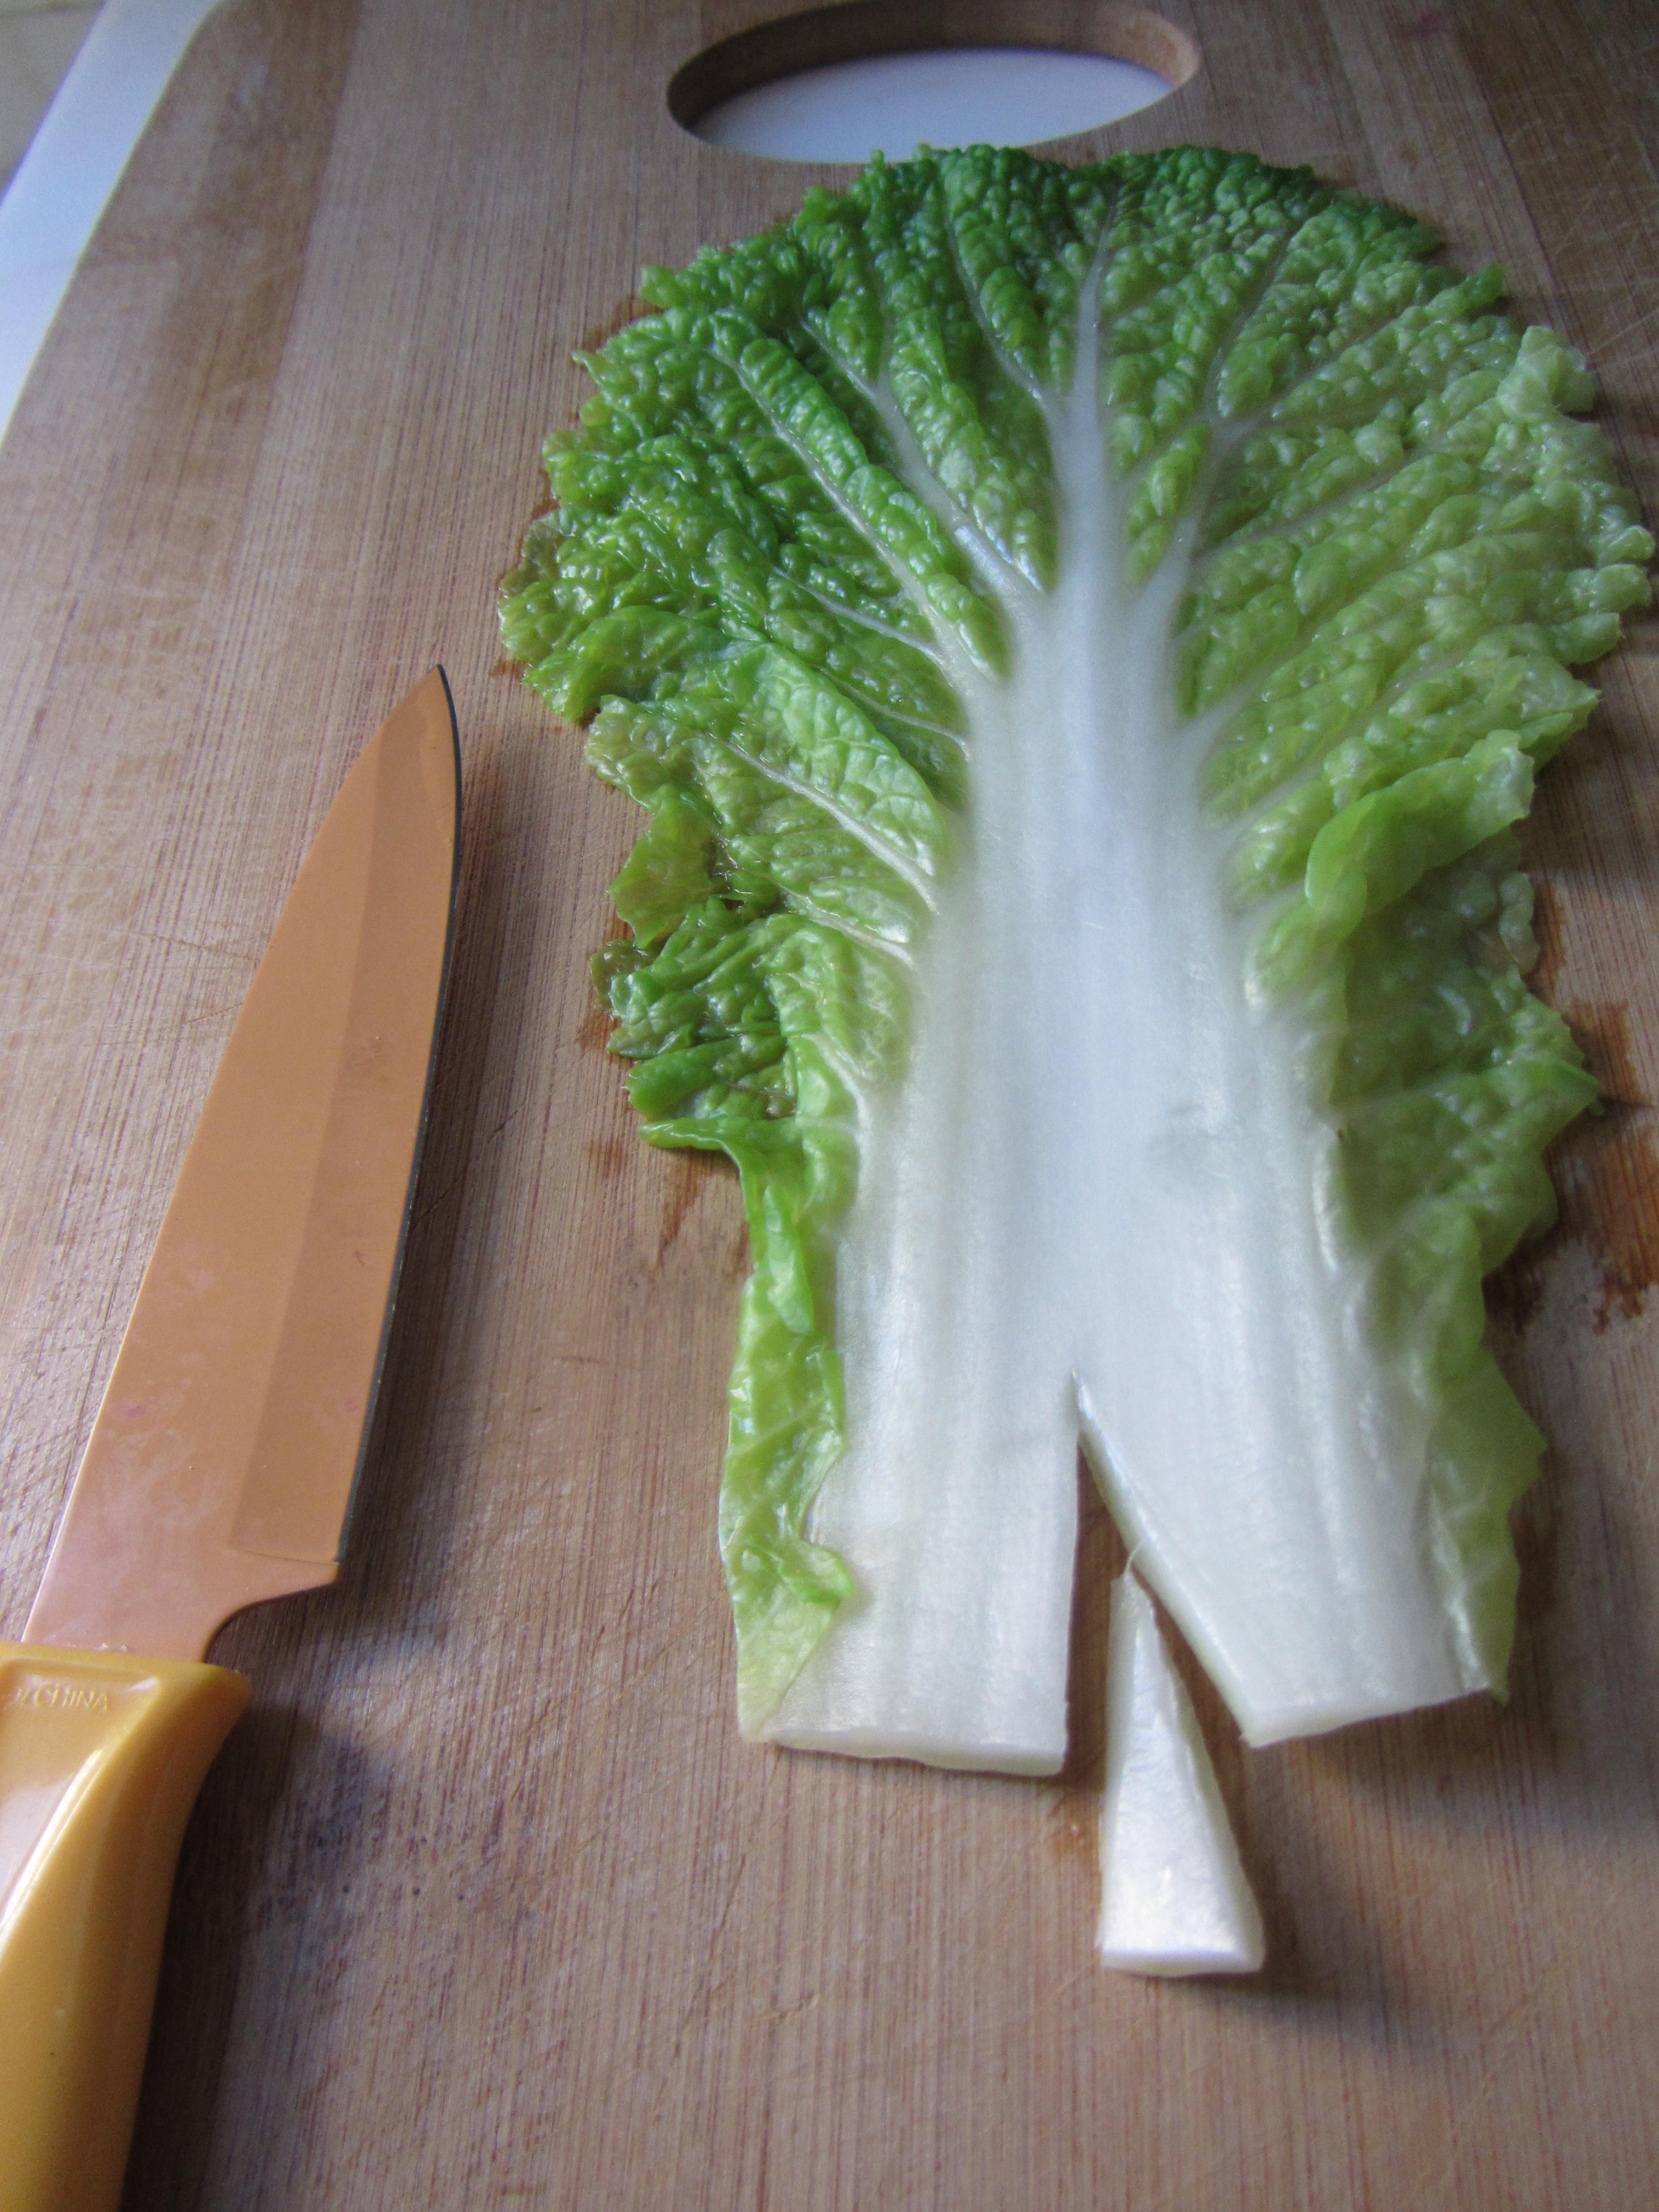
Assemble the roll-ups: Place a whole Napa cabbage leaf on a cutting board. Cut a small “V” in the bottom (where the leaf was connected to the full cabbage head). This will make it easier to roll up.
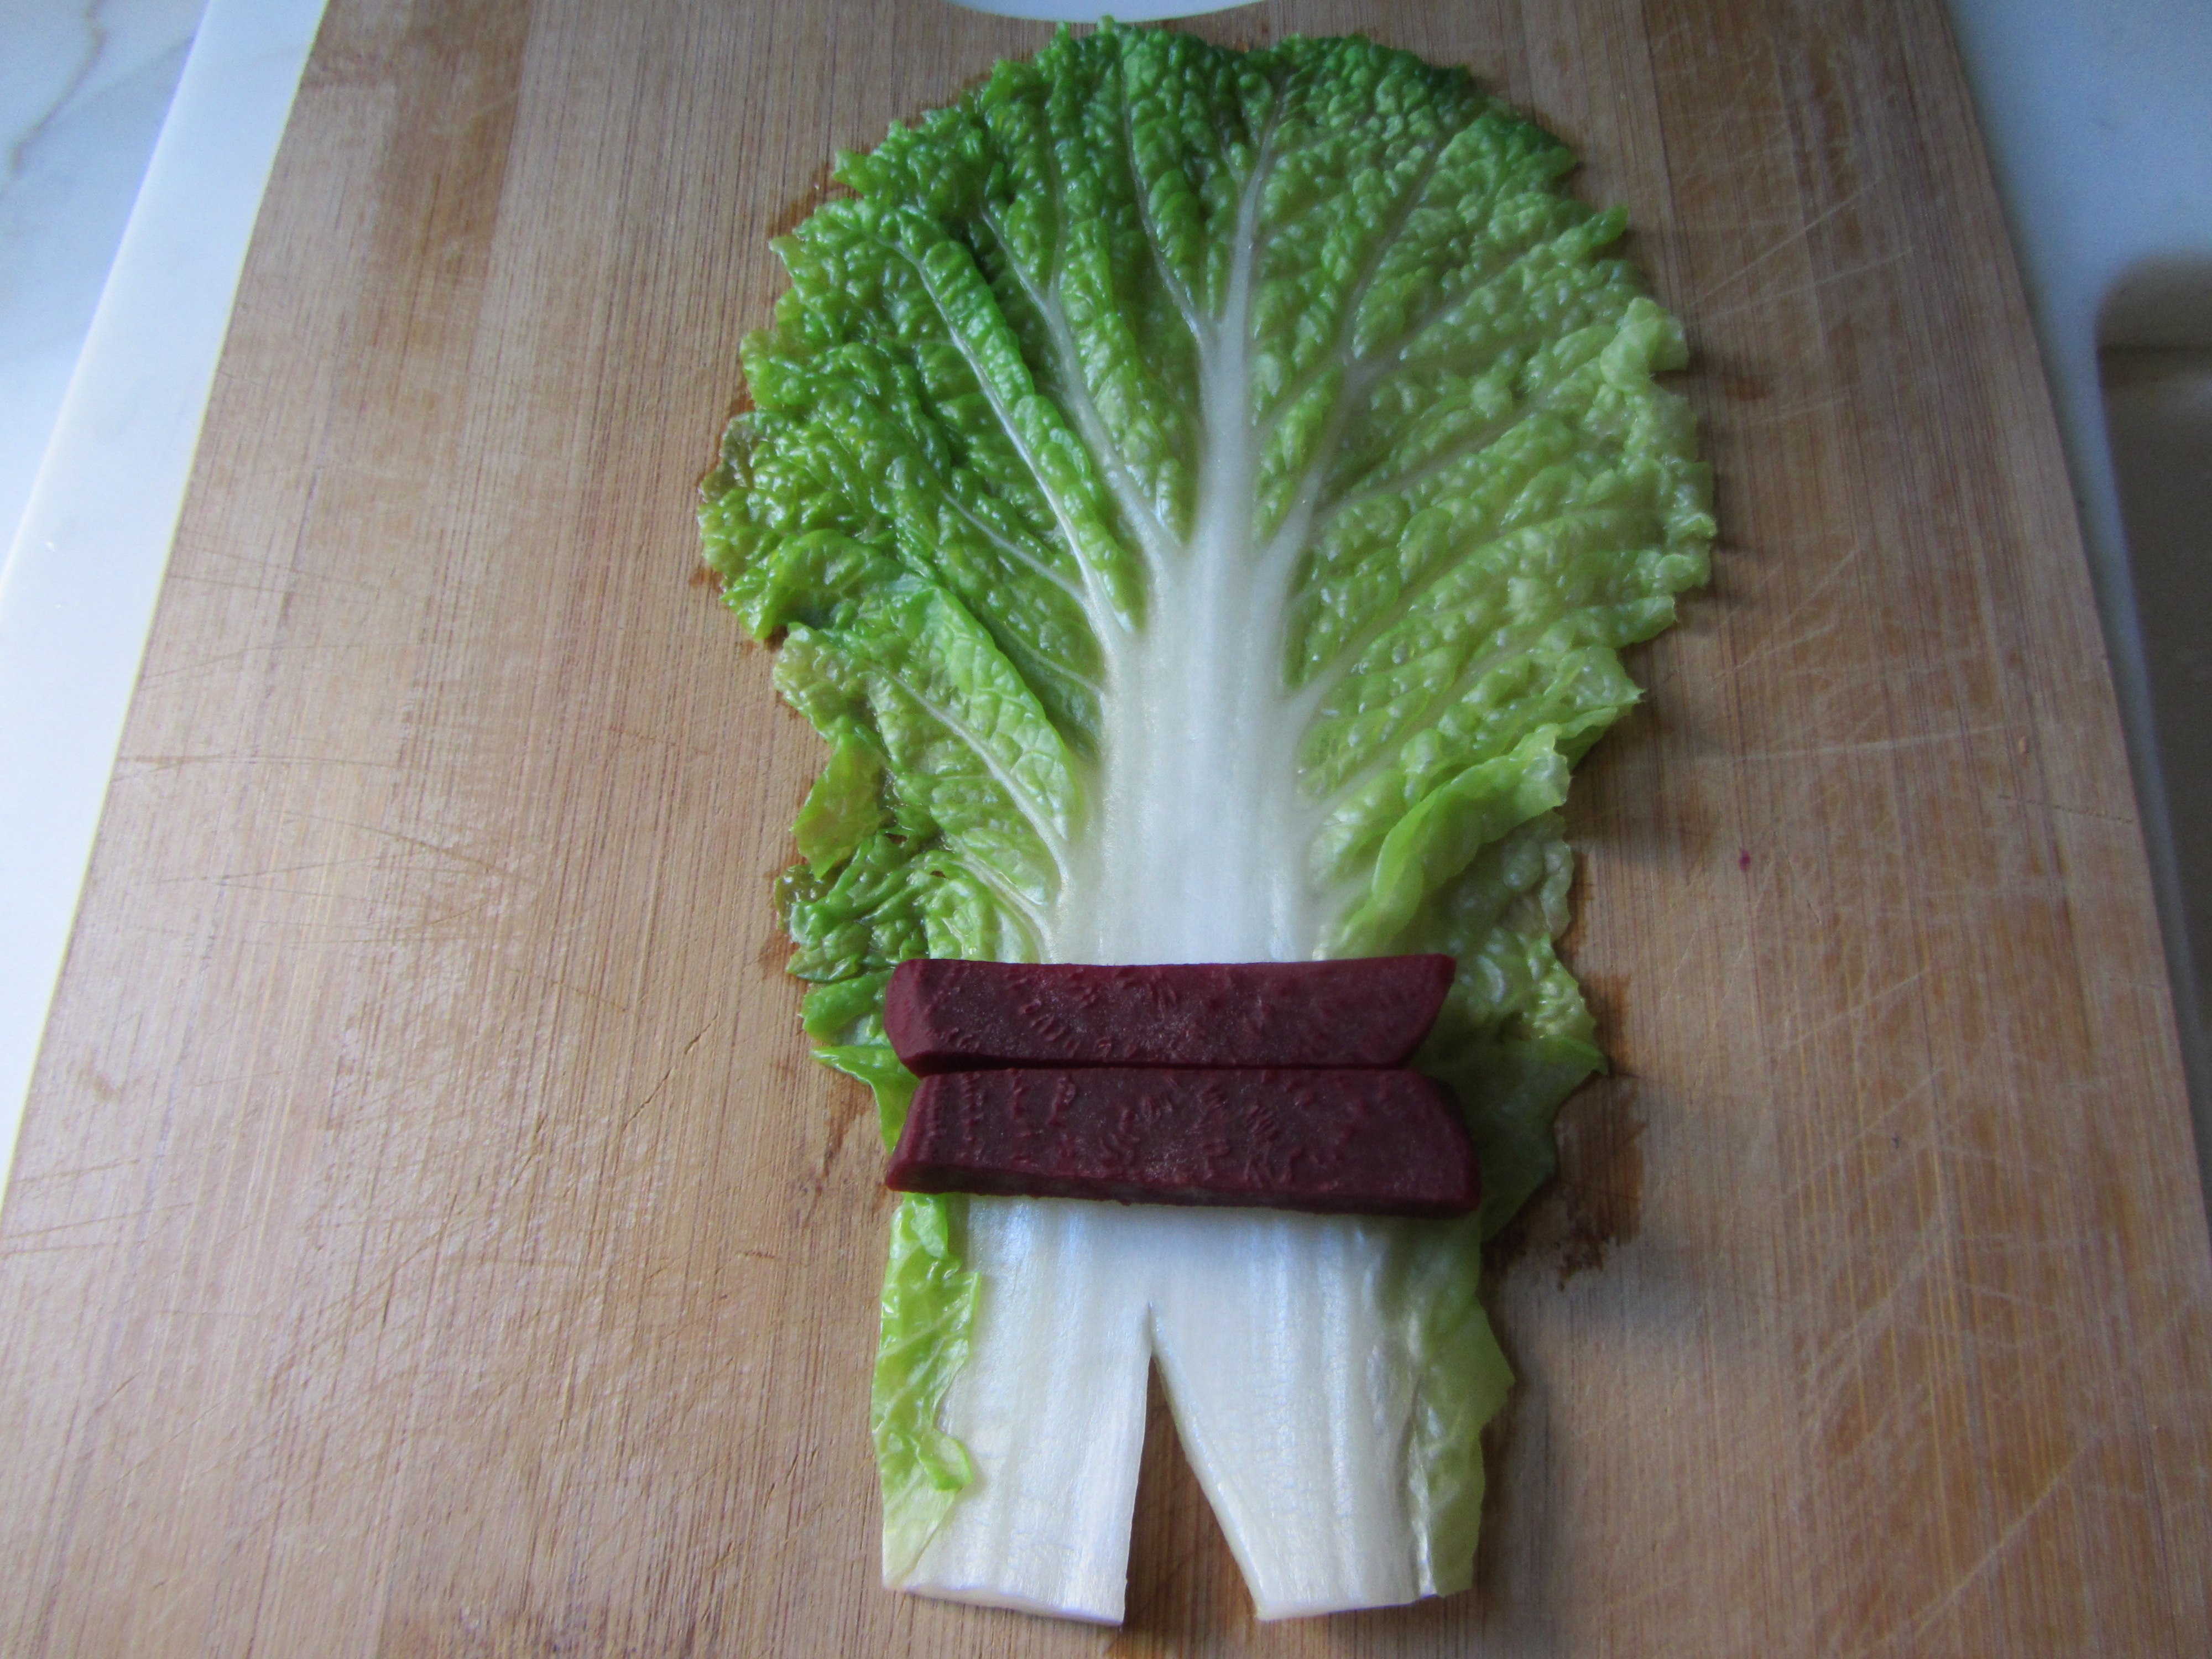
Place two of the beet sticks on top of the cabbage, about 1 1/2 inches from the bottom of the leaf.
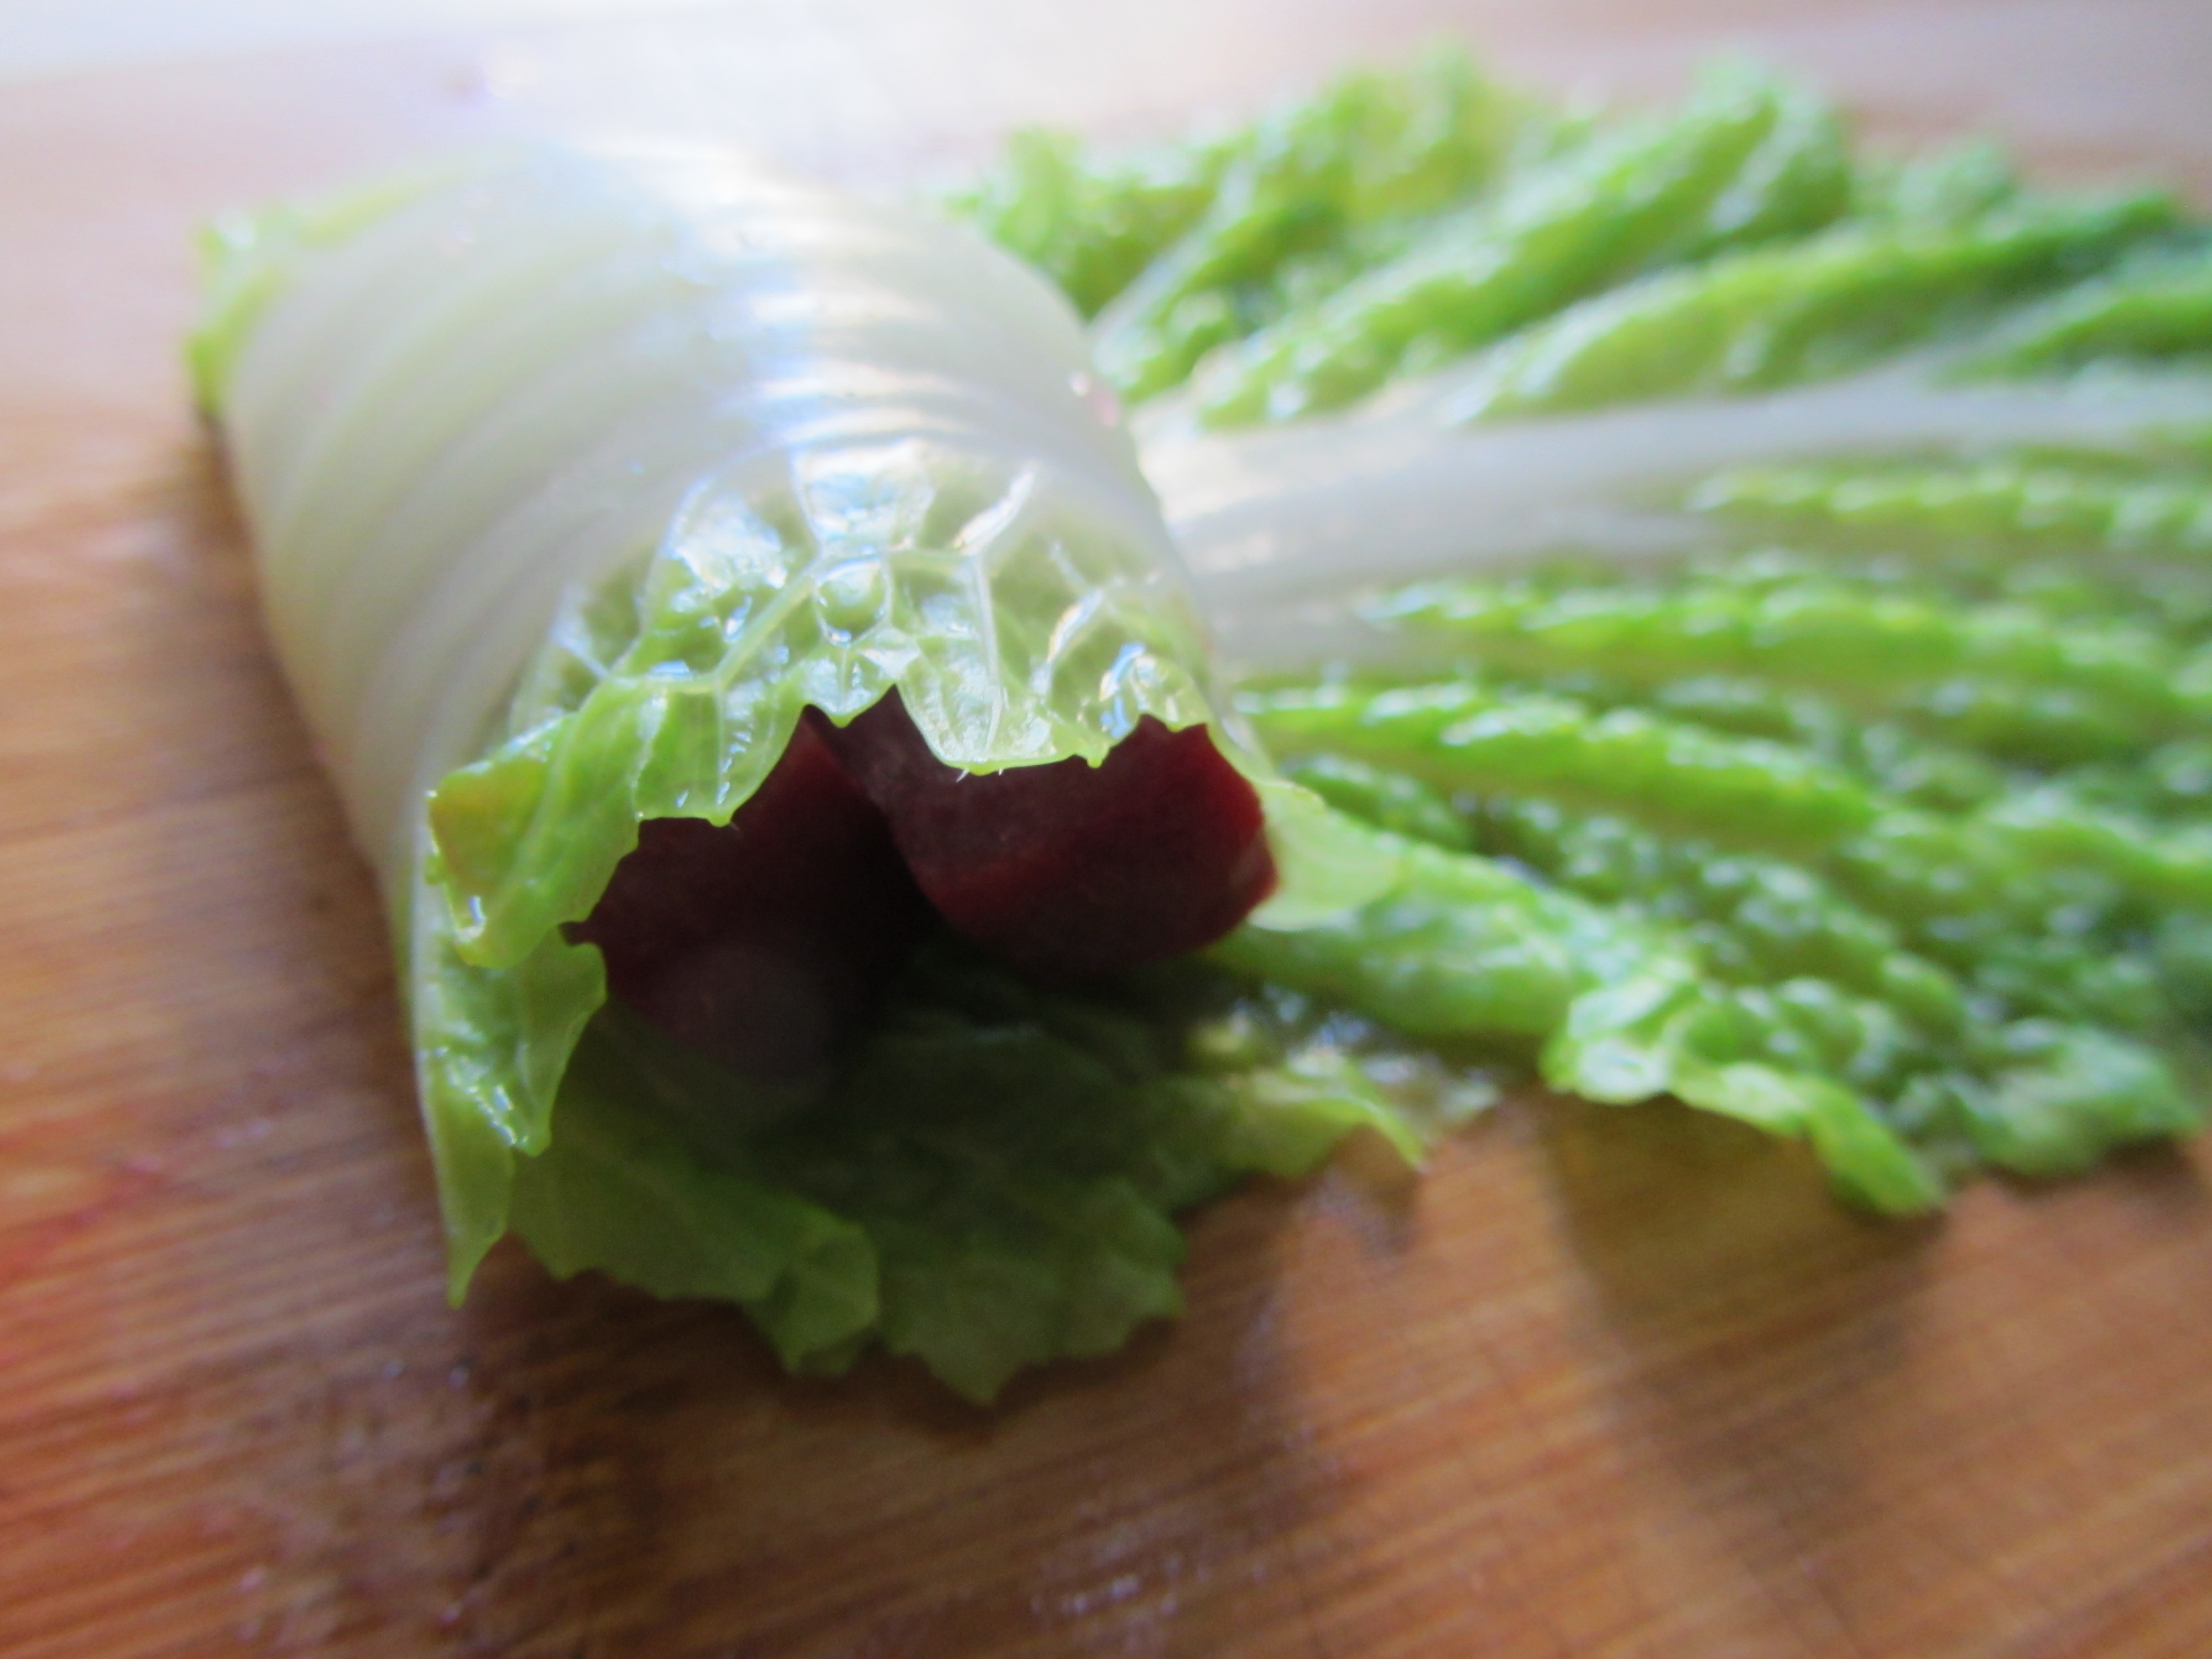
Spread the condiment you choose (or none) on top of the beets. Note: the mozzarella cheese is best used as a garnish after the roll is plated. Begin to roll the leaf up, enclosing the beet.
When you have rolled the leaf about three quarters of the way, fold the outer green cabbage leaves in, covering the cylinder’s ends. 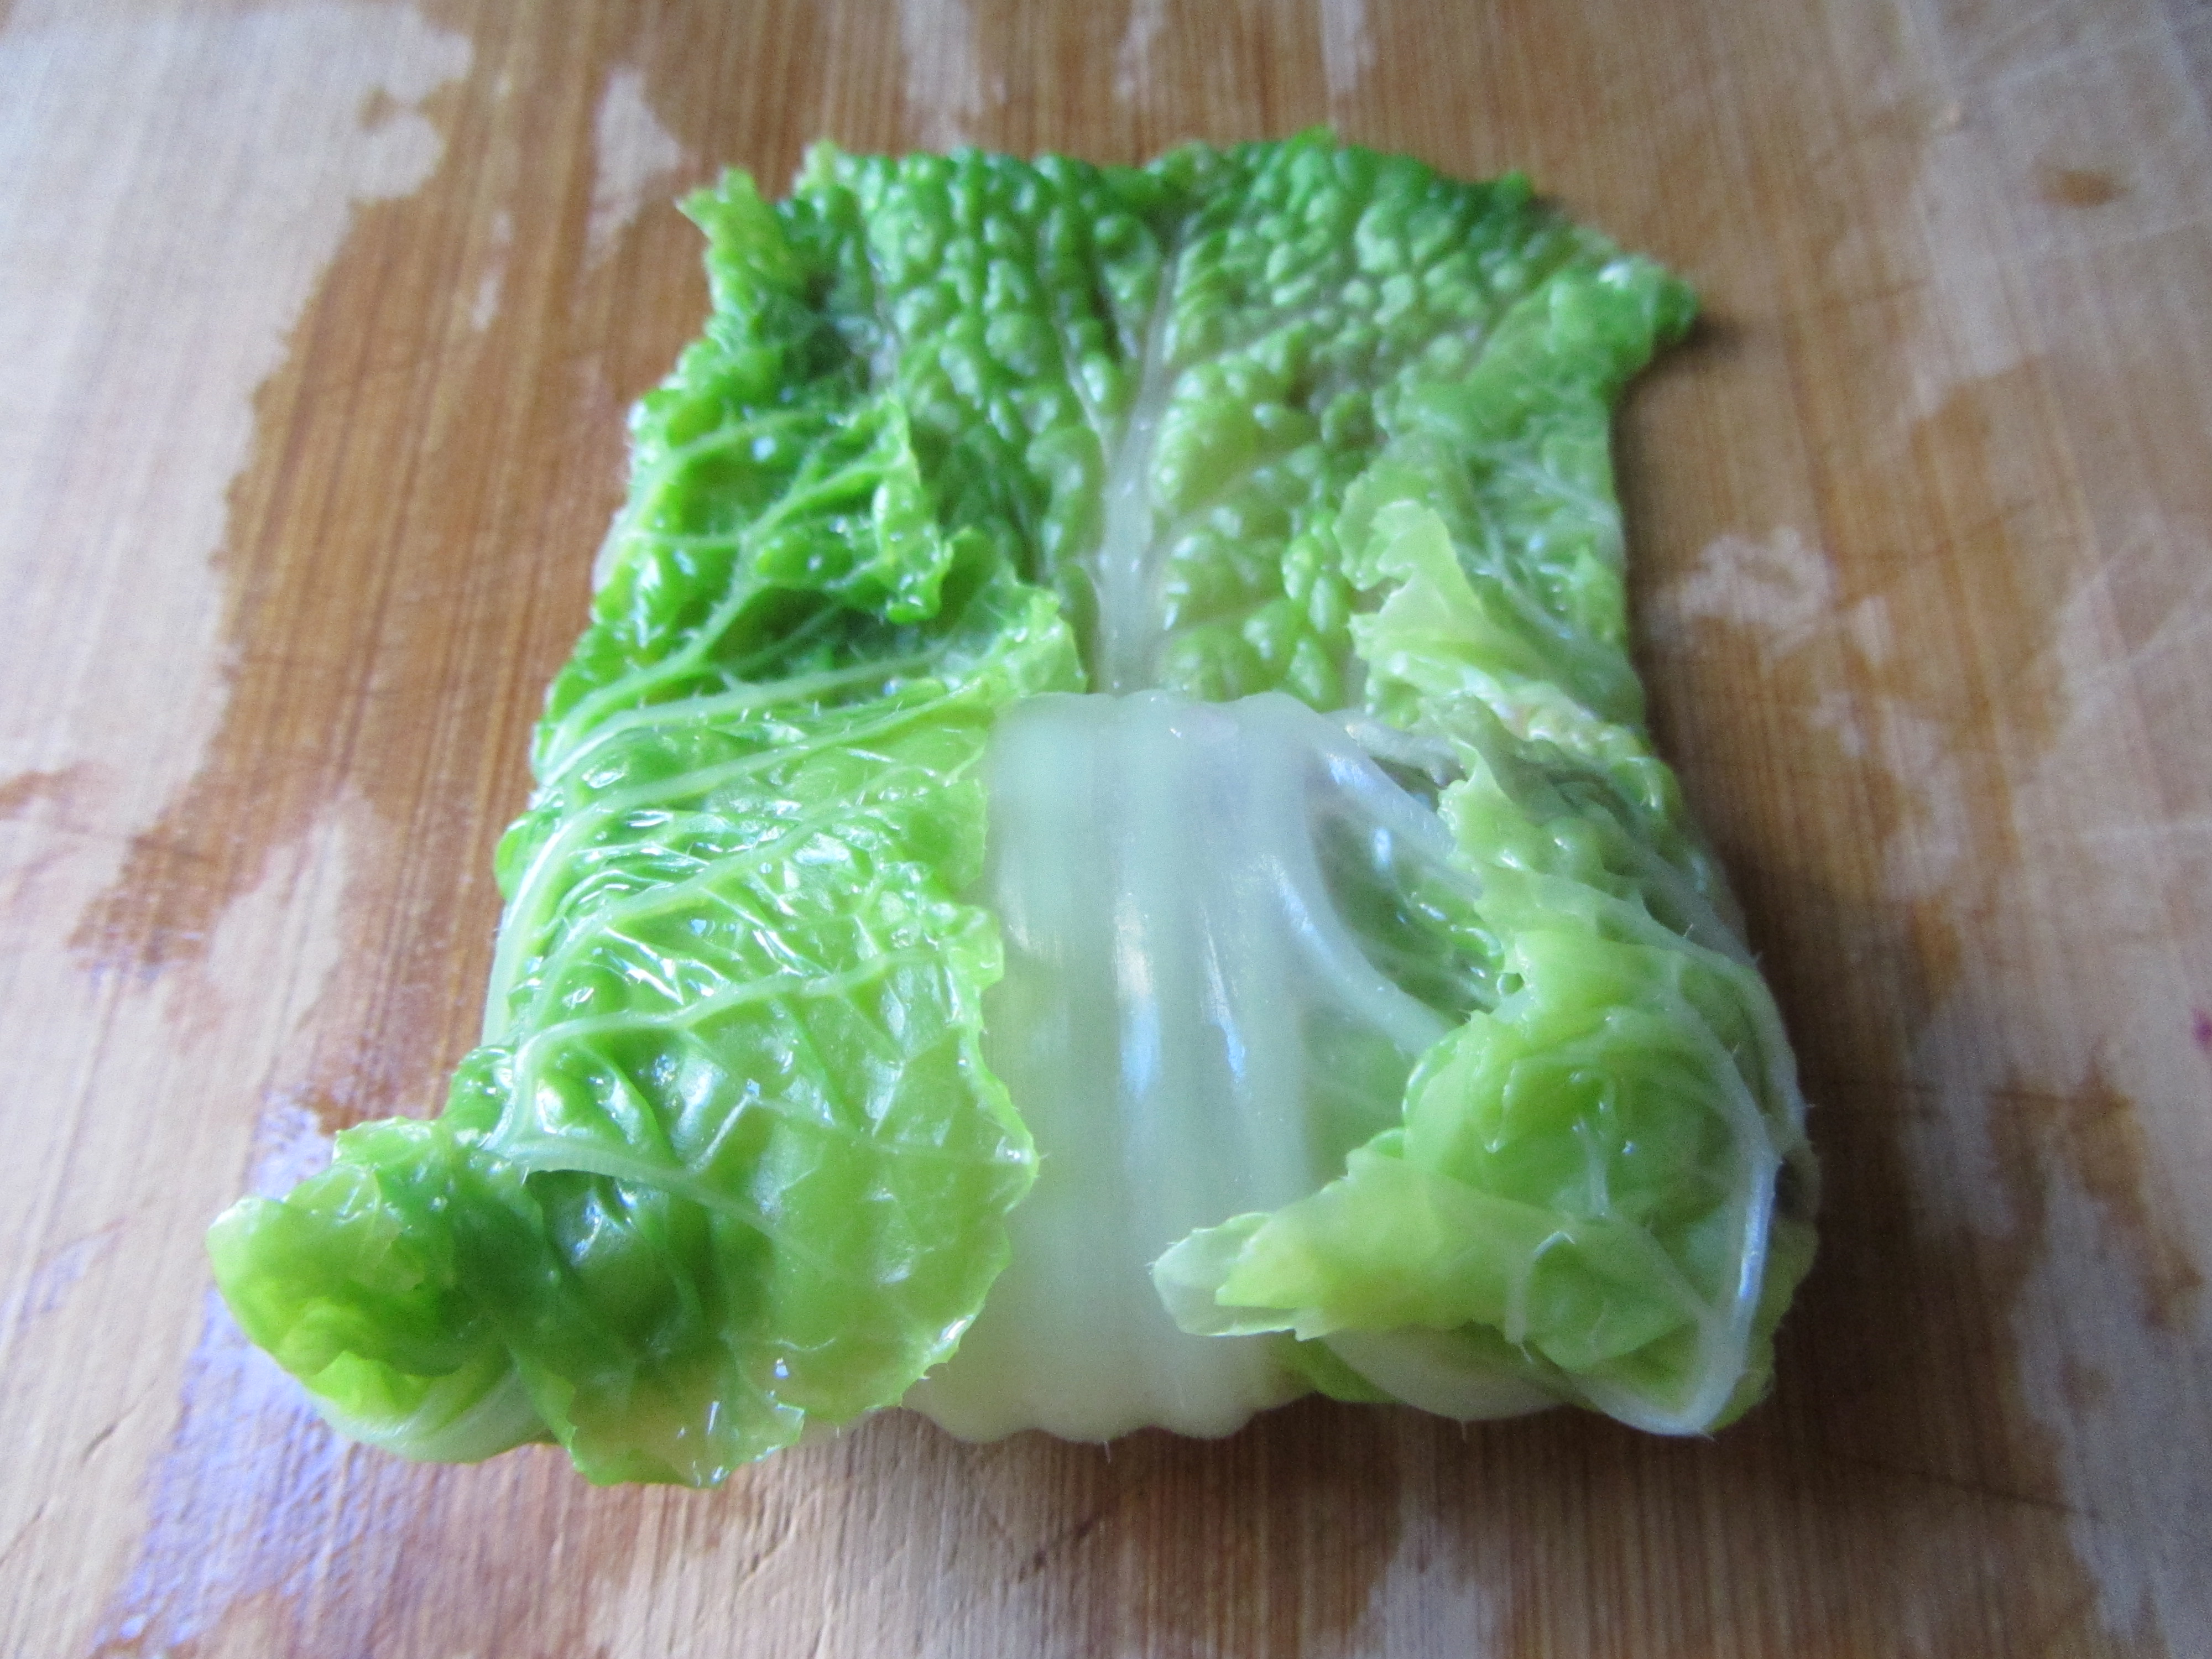
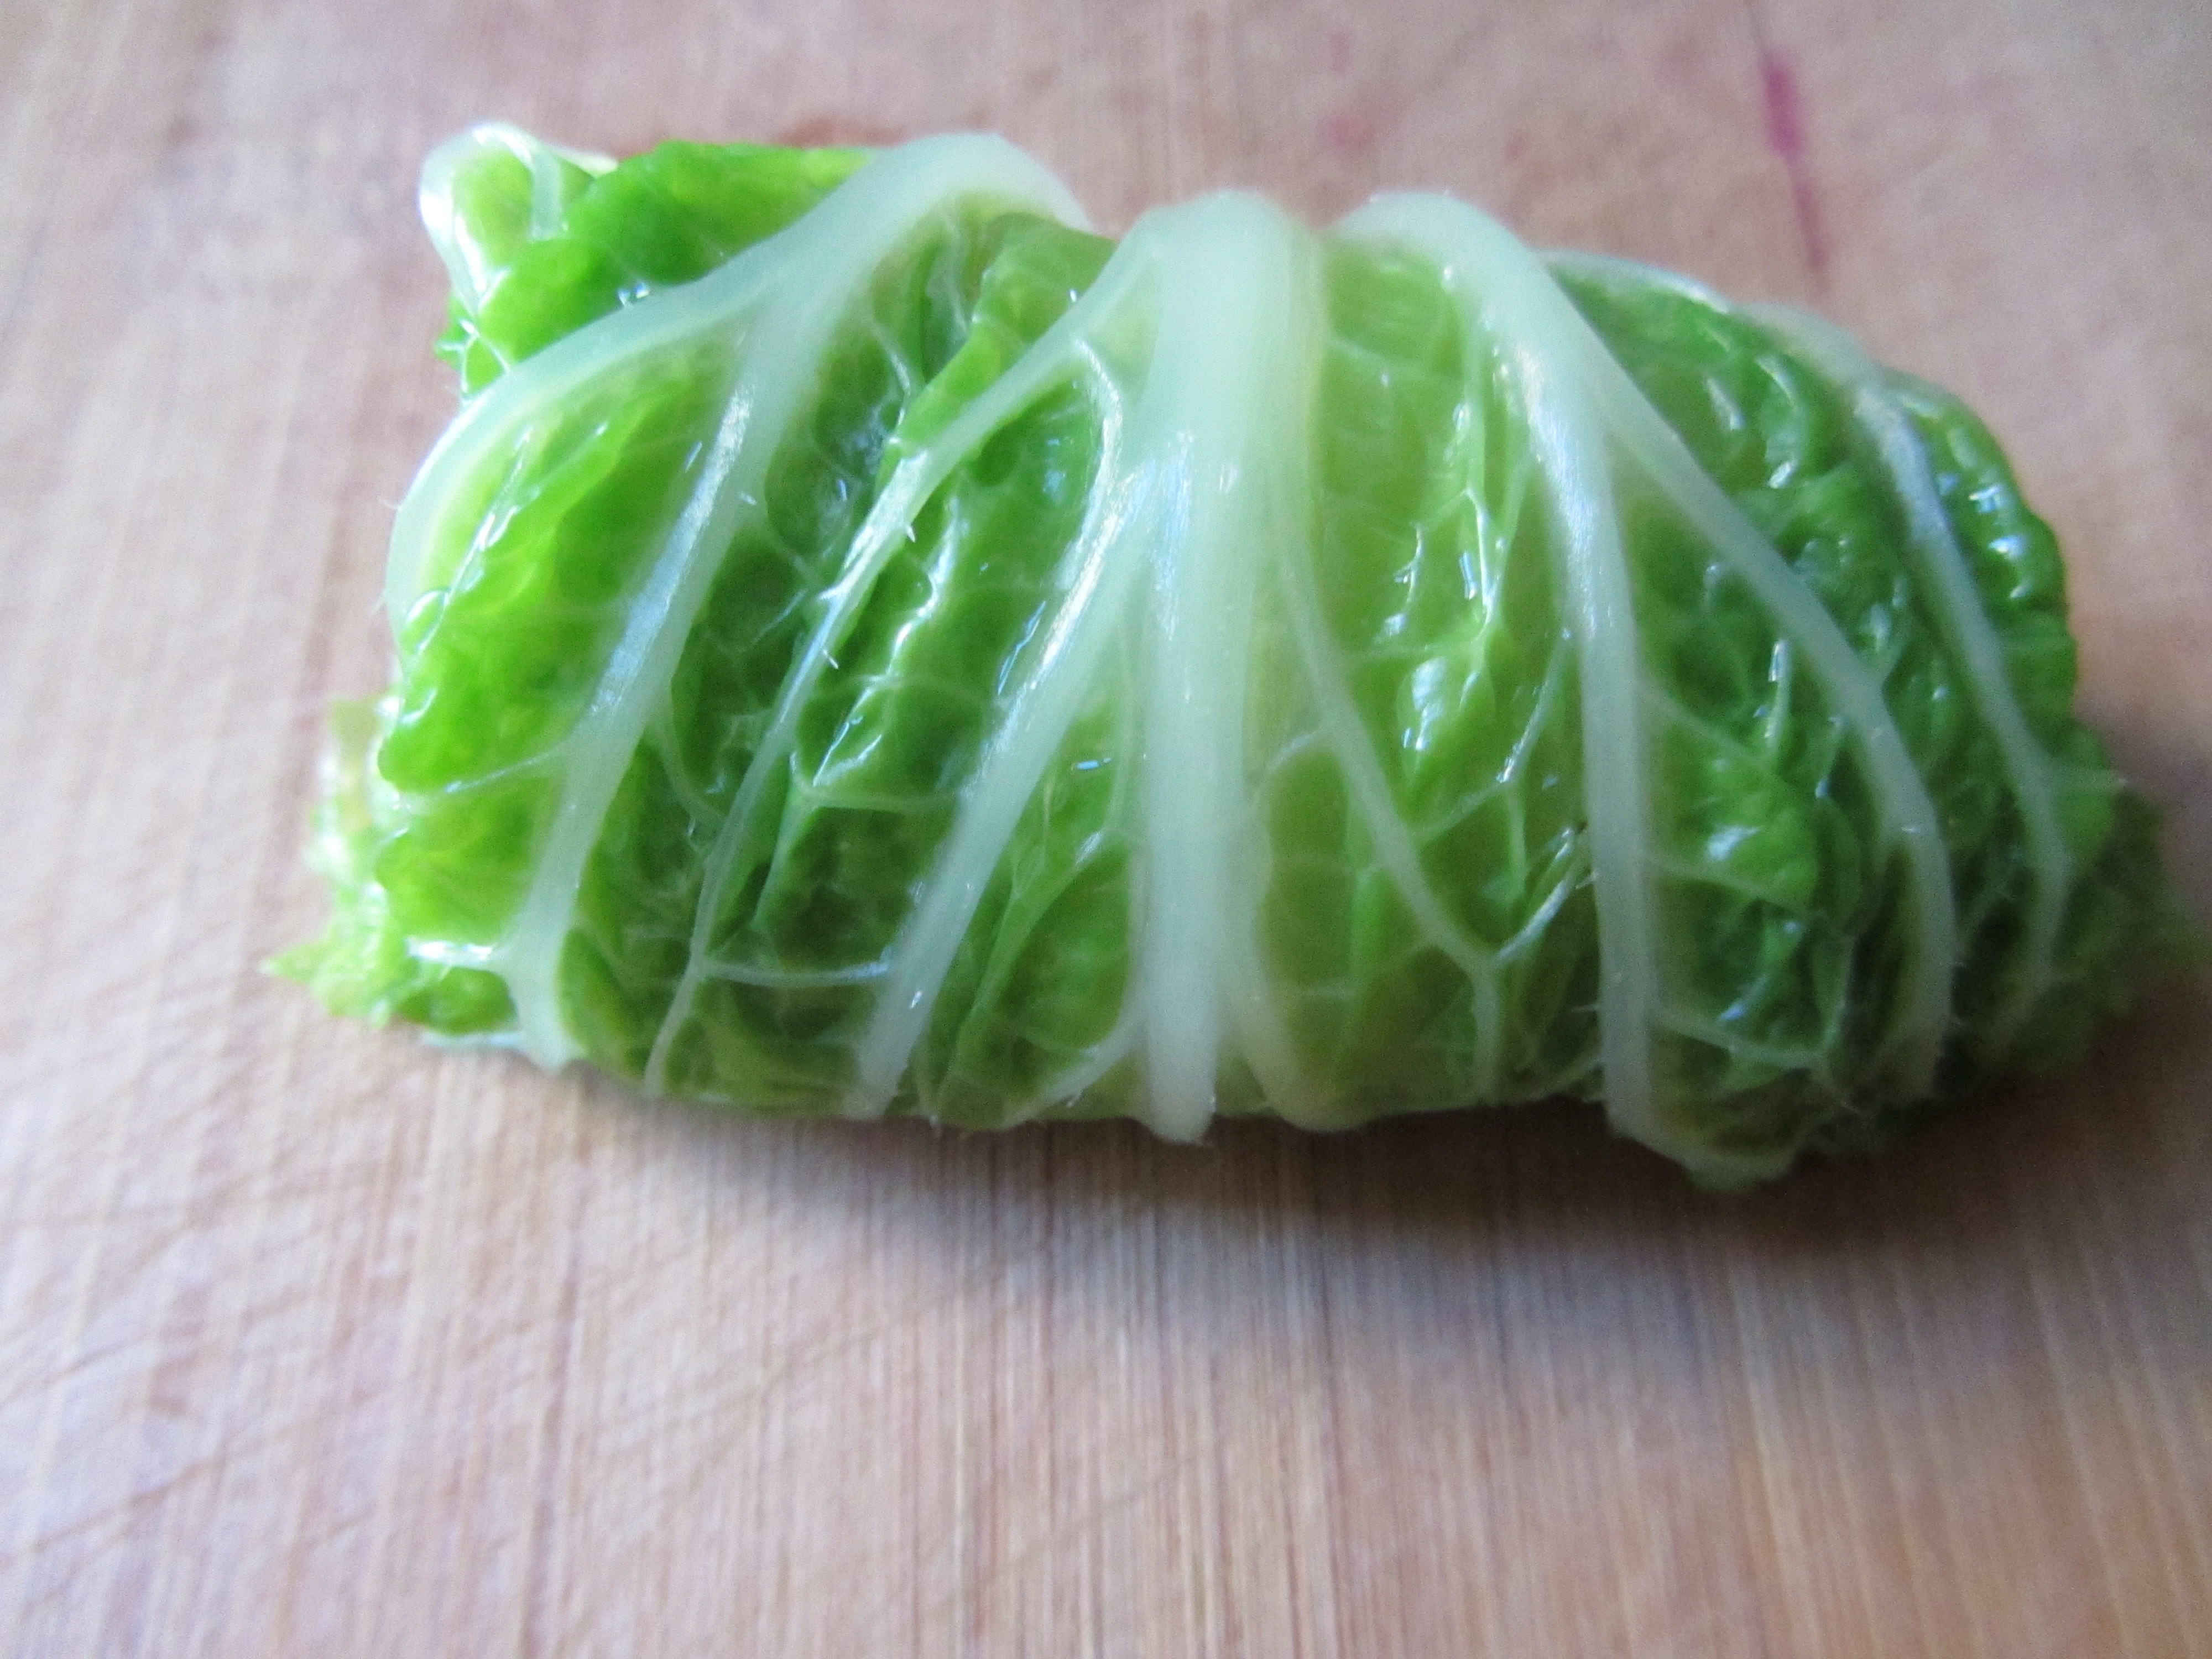
Continue to roll it up until it is a neat cylinder. Squeeze the finished roll, letting any water out.
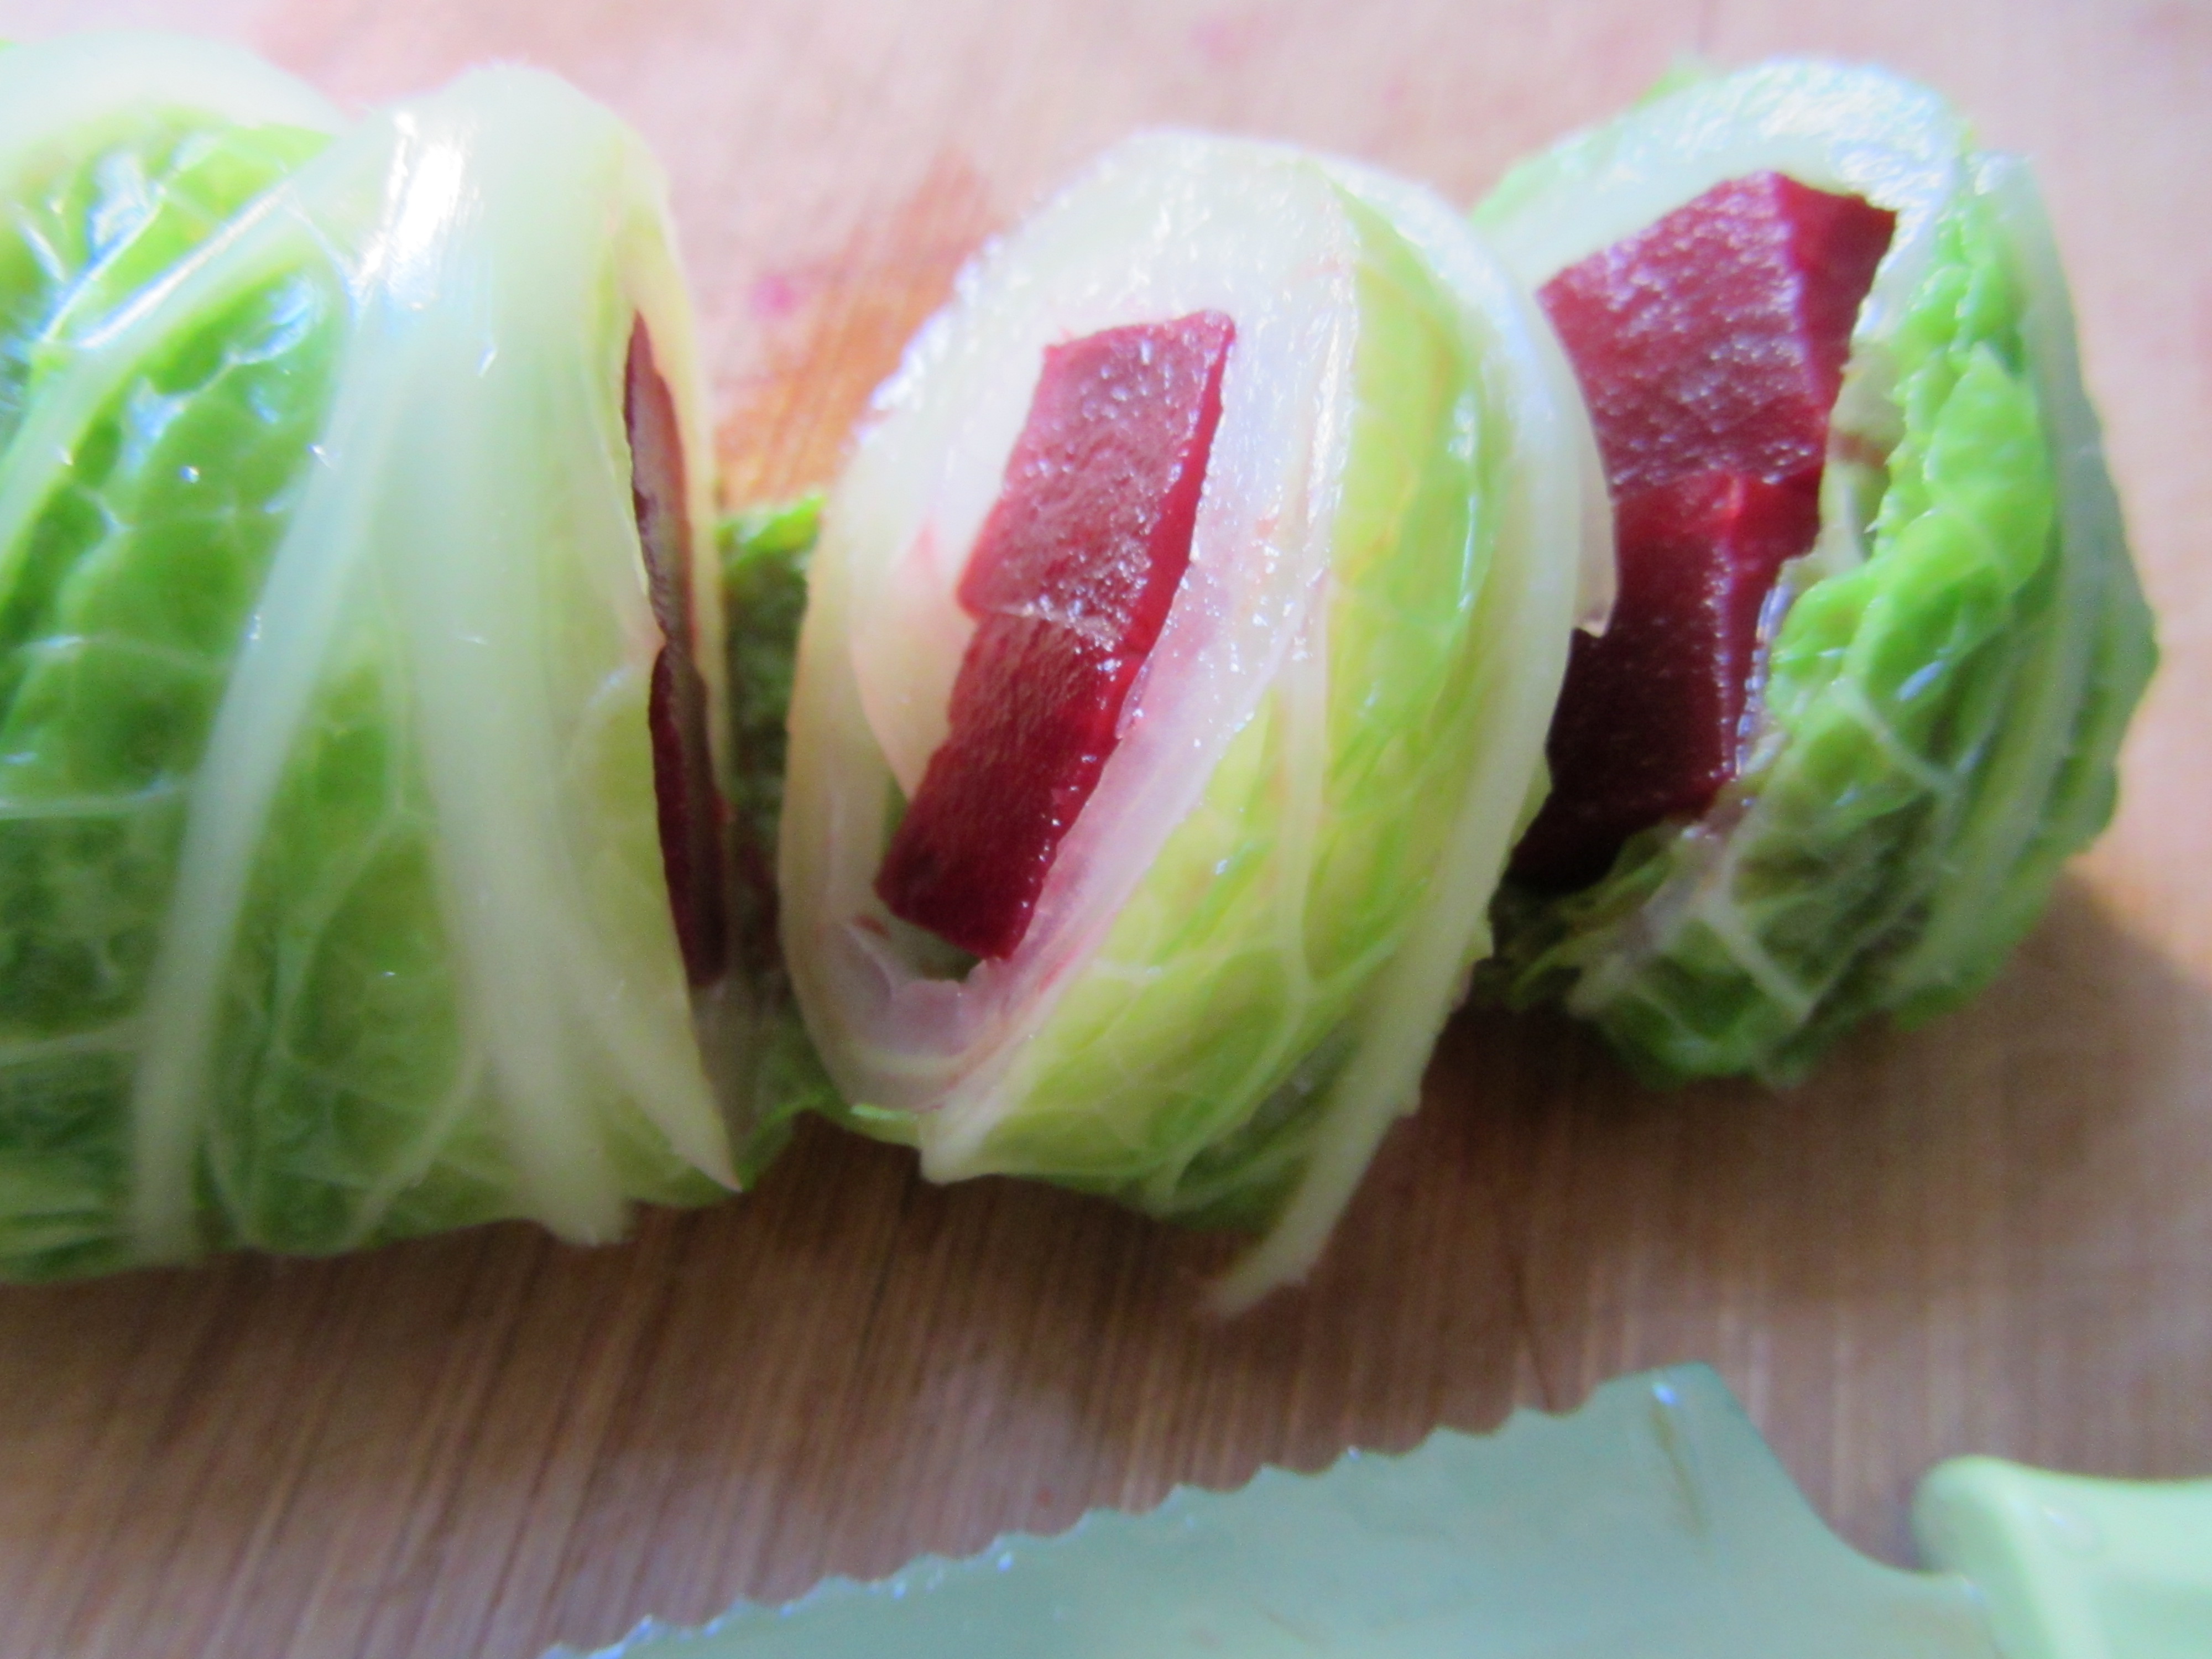
Cut the roll into ¾-inch-thick slices, exposing the filling.
Arrange on individual plates and top with mozzarella cheese if desired.
©Nancy Wolfson-Moche 2013
« cardoons: fried
tatsoi »
